Custom Fields Growth+This feature requires the Growth+ plan or higher
Custom fields let you add your own data fields to customer profiles, beyond the standard contact information. This is useful when your business needs to track specific details that EquipDash does not capture by default.
What Are Custom Fields?
Custom fields are extra fields that you define and that appear on every customer profile. They let you capture any information that matters to your business.
Example custom fields:
- "Shoe Size" — for a rental shop that needs to know sizing in advance.
- "Membership Number" — for businesses with loyalty or membership programmes.
- "Dietary Requirements" — for tour operators who provide food on their experiences.
- "How Did You Hear About Us?" — for tracking marketing channels.
- "Emergency Contact" — for adventure and outdoor activity businesses.
Setting Up Custom Fields
Custom fields are configured in Settings and apply to all customer profiles across your account. Only admin users can manage custom fields.
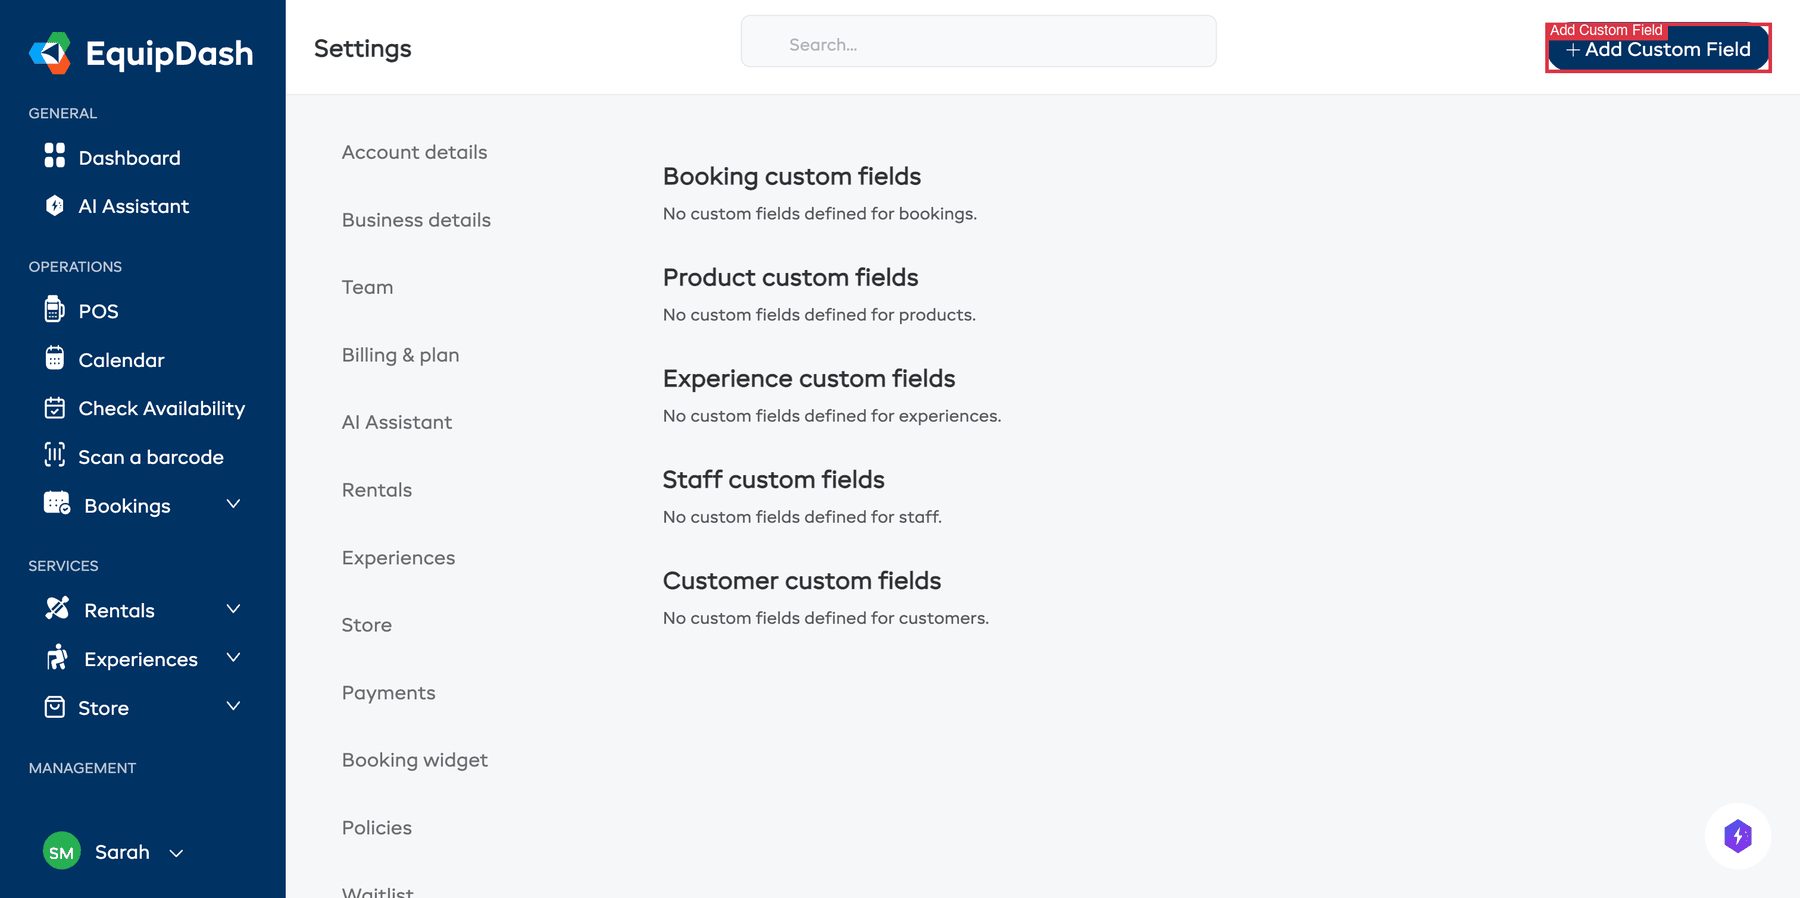
- Click Settings in the sidebar.
- Click Custom fields in the Settings sidebar menu.
- Click Add Custom Field.
- Configure the field:
- Applies to — Select Customer from the dropdown so the field applies to customer profiles. (Other options include Booking, Product, Experience, and Staff.)
- Label — The name that appears on the form (e.g. "Shoe Size", "Membership Number"). Must be between 2 and 255 characters.
- Data type — The type of input. Options are:
- Single Line Text — A short text field.
- Multi-line Text — A longer text area.
- Number — A numeric field.
- Date — A date picker.
- Date & Time — A date and time picker.
- Mandatory — Choose Yes or No. If set to Yes, this field must be filled in when adding or editing a customer.
- Click Save.
Repeat for each custom field you want to add.
Where Custom Fields Appear
Once created, custom fields appear in several places:
When Adding a Customer
Custom fields show below the standard contact fields in the Add new customer side panel. Required custom fields must be filled in before saving.
When Editing a Customer
Custom fields appear in the Edit Customer side panel, pre-filled with any existing values. You can update them like any other field.
On the Customer Detail Page
Custom field values are displayed on the Overview tab of the customer detail page, in a Custom fields card directly below the Contact information card. Each field is laid out as a label + value row.
Custom fields appear here only when at least one value is set. To edit a custom field value, click Edit Customer in the page header — the inline-edit panel on the Overview tab is for the standard contact fields only; custom fields are set in the Edit Customer side panel.
Editing Custom Fields
To change a custom field's settings:
- Go to Settings > Custom fields.
- Click the Edit icon on the field you want to change.
- Update the label, data type, or mandatory setting.
- Click Save.
Changing a field's data type (e.g. from text to number) may cause issues with existing values that do not match the new type. It is best to decide on the field type before you start collecting data.
Deleting Custom Fields
- Go to Settings > Custom fields.
- Click the Delete icon on the field you want to remove.
- Confirm the deletion.
Deleting a custom field removes it from all customer profiles and permanently deletes any data stored in that field. This action cannot be undone.
Tips
- Only create fields you will actually use. Too many custom fields can clutter the add/edit forms and slow down data entry.
- Use clear labels. The label is what your team sees when filling in the field. Make it obvious what goes in there.
- Mark fields as mandatory carefully. Mandatory fields must be filled in every time a customer is added or edited. Only require fields that are truly essential.
- Custom fields work alongside standard fields. They do not replace the built-in fields like name, email, and phone — they add to them.
- Custom fields are grouped by model. In the settings page, fields are organised by which model they apply to (Customer, Booking, etc.).