Customer Overview
EquipDash automatically builds a customer database as people book with your business. Every customer who makes a booking — whether through the booking widget, the Point of Sale, or the API — gets a profile in your customer list. You can also add customers manually or import them in bulk.
What the Customer Section Does
The Customers section gives you a single place to:
- View all your customers in a searchable, sortable table.
- See customer details including contact information, booking history, and total spend.
- Add notes to customer profiles for internal reference.
- Import customers from a CSV file to get your existing database into EquipDash.
- Export customer data as a CSV for use in other tools.
- Track custom fields to capture the specific details that matter to your business (Growth+ plan).
Click the gear icon near the top of the table to customize your columns. Tick a column under Available columns to show it, untick one under Active columns to hide it, and drag columns into the order you prefer. Your layout is saved and shared with your whole team.
The Customer Table
Navigate to Customers in the sidebar to see your full customer list.
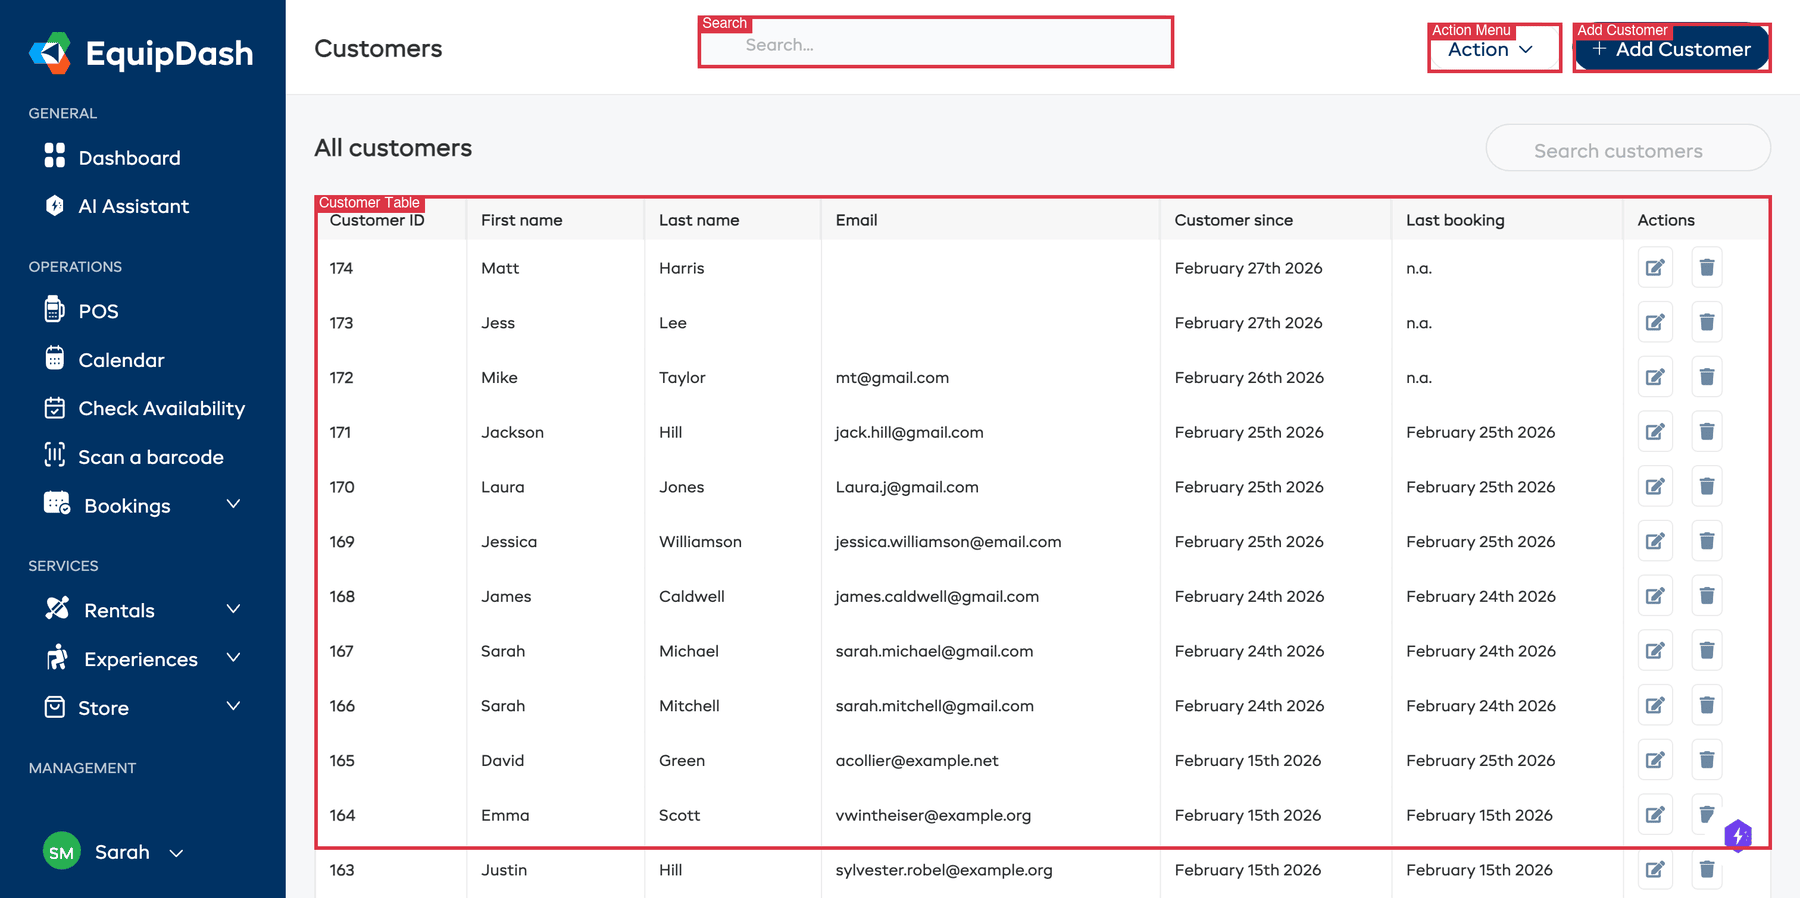
The table shows:
- Customer ID — The unique ID for each customer.
- First name — The customer's first name.
- Last name — The customer's last name.
- Email — Their email address.
- Customer since — When they were first added or first booked.
- Last booking — The date of their most recent booking.
- Actions — Edit (pencil icon) or delete (trash icon).
Searching and Sorting
- Use the Search customers field in the top-right to find customers by name or email.
- Click column headers to sort the table.
Customer Profiles
Click on any row in the table to open that customer's detail page. The page is organised as a hero card at the top plus a 5-tab workspace:
- Hero card — Avatar, contact line (email, phone, location, customer since, last booking), and three metric tiles (Lifetime value, Avg. booking, Next booking). Two action buttons: Send email and + New booking.
- Overview tab — Contact information (inline-editable, auto-saves on blur), Custom fields, Notes, and a Most-booked rail listing the customer's top 5 services.
- Bookings tab — Full booking history table for this customer.
- Communication tab — Read-only timeline of every email and SMS sent to the customer (automatic and manual). Reply to any email with one click.
- Forms & Surveys tab — Completed waivers, forms, and survey responses.
- Activity tab — Merged chronological timeline of every event (bookings, payments, emails, SMS, forms, notes), with filter pills.
See Customer Details & History for a full walkthrough.
How Customers Are Created
Customers are added to your database in several ways:
| Method | When It Happens |
|---|---|
| Booking Widget | A customer completes a booking through your online widget |
| Point of Sale | Your staff creates a booking and enters customer details |
| API | A booking is created through the API with customer data |
| Manual | You add a customer directly from the Customers page |
| CSV Import | You upload a CSV file with customer data |
When a customer books online, EquipDash checks if a customer with the same email already exists for your business. If so, the booking is linked to the existing profile rather than creating a duplicate.
Key Actions
| Action | How To |
|---|---|
| Add a customer | Click + Add Customer in the top-right. See Adding a Customer. |
| Import customers | Click Action then Import customers. See Importing Customers. |
| Export customers | Click Action then Export. See Exporting Customers. |
| View details | Click any row in the customer table. See Customer Details & History. |
| Add a note | Open the customer profile, scroll to the Notes card on the Overview tab. See Customer Notes. |
| Send an email | Open the customer profile, click Send email in the hero card. See Send a Custom Email. |
| See email + SMS history | Open the customer profile, click the Communication tab. |
| See full event timeline | Open the customer profile, click the Activity tab. |