Quick Actions from Calendar
The calendar is not just for viewing -- you can take action directly from it. Create new bookings, view product availability details, and check booking information without leaving the calendar page.
Creating a New Booking
You can start a new booking right from the calendar:
- Click the + New booking button in the top-right corner of the calendar page.
- You will be redirected to the booking creation page.
The + New booking button is always visible in the top-right corner regardless of which calendar view you are on.
Viewing Product Details from the Rental Calendar
On the rental calendar, you can click product rows and booking bars to see inventory details:
- Click on a product row or booking bar on the rental calendar.
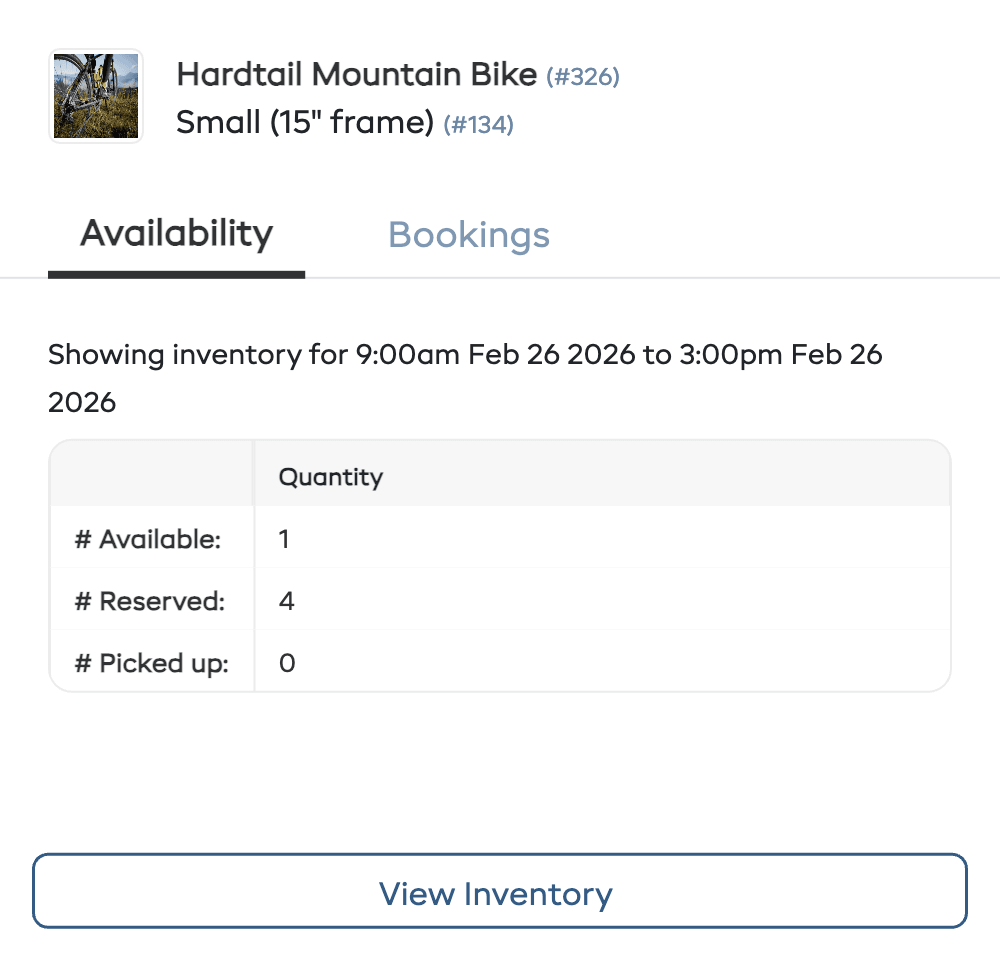
- An inventory popup will appear showing the product name, variant, and image.
The popup has two tabs:
Availability tab
Shows a breakdown of the product's inventory for the selected time period:
| Row | What it shows |
|---|---|
| # Available | How many units are currently free |
| # Reserved | How many units are booked |
| # Picked up | How many units are currently out with customers |
A View Inventory button at the bottom takes you to the full inventory detail page.
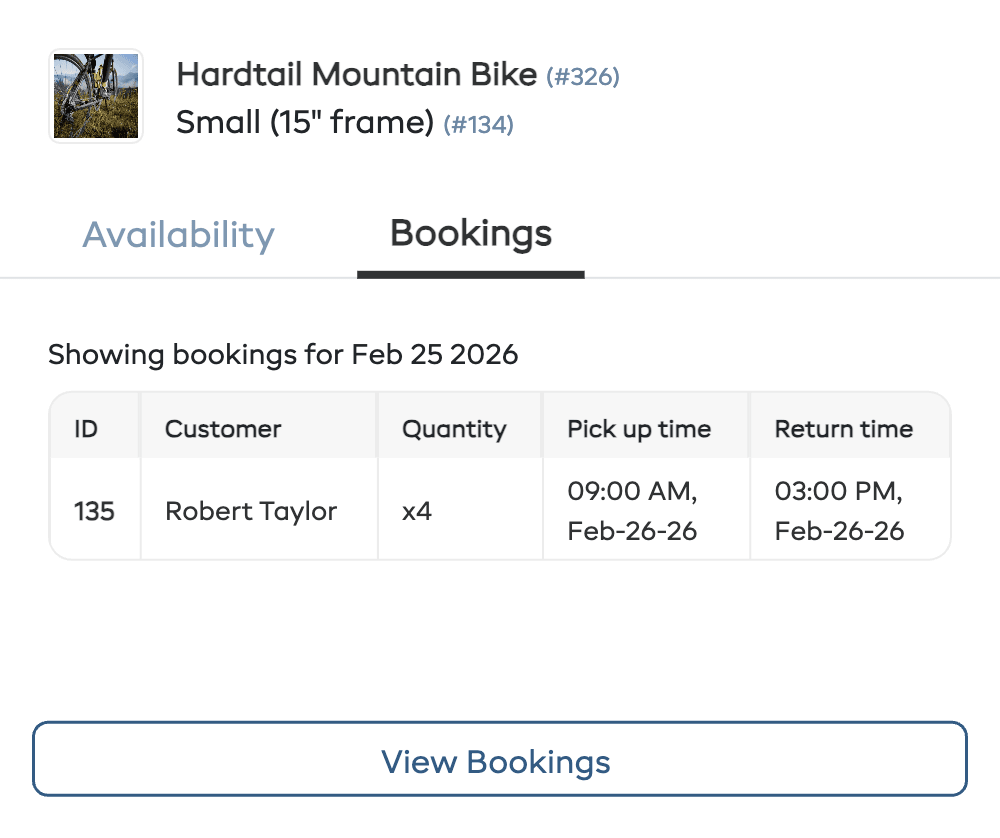
Bookings tab
Shows a list of individual bookings for that product during the selected period:
| Column | What it shows |
|---|---|
| ID | The booking reference number |
| Customer | Customer name |
| Quantity | Number of units booked |
| Pick up time | When the customer is collecting the item |
| Return time | When the item is due back |
A View Bookings button at the bottom takes you to the bookings list filtered for that product.
Viewing Session Details from the Experience Calendar
On the experience calendar you can view session details from any view mode.
In list view
- Click on an experience row in the left panel.
- The right panel shows all sessions for that experience on the selected day or month.
- Each session card displays capacity, guide assignment, and a full participant table with names, emails, and statuses.
- Click View manifest on any session card to open the full manifest page for that session.
- Click a Booking ID link (e.g., "#127") to go to the full booking detail page.
In calendar day view (timeline)
- Hover over any session block on the vertical timeline.
- A detail popup appears after a brief moment showing full session information, capacity, guide assignment, and the participant list.
- Move your mouse away from the block and the popup to dismiss it.
In calendar month view
- Hover over any session chip in a date cell.
- A detail popup appears with full session information and participants.
- Click a date cell to navigate to that day in the timeline view.
Guide warnings
If a session has no guide assigned, a "No guide assigned" warning appears in red on the session card and in the detail popup. Use this to quickly identify sessions that still need a guide before they run.
Navigating to a Specific Date
In the experience calendar toolbar:
- Click the date display to open a date picker and jump to any date.
- Click Today to return to the current date.
- Use the left/right arrow buttons to move one day at a time.
In the day timeline view:
- Click any day in the week row to switch to that day directly.
In the month grid view:
- Click any date cell to jump to that day in the timeline view.
Filtering to a Specific Product via Barcode
On the rental calendar, if your plan supports barcodes:
- Click the barcode scanner icon at the far right of the filter bar.
- Scan the barcode of a product or inventory item.
- The calendar will automatically filter to display only that product's bookings.
This is a fast way to check a specific item's schedule when you are on the shop floor.
The barcode scanner is only available on the rental calendar, not the experience calendar.
Related Guides
- Calendar Overview -- General calendar navigation and features.
- Rental Calendar -- The rental booking calendar view.
- Experience Calendar -- The experience session views.
- List View -- Detailed guide to the list view layouts.
- Creating a Booking -- Full guide to creating a new booking.
- Viewing & Managing Bookings -- Managing bookings from the bookings page.