Organizing Store Categories
Store categories help you group your products into logical sections, making it easier for customers to browse your catalog. Categories appear as filters on the store widget and in the dashboard product listings.
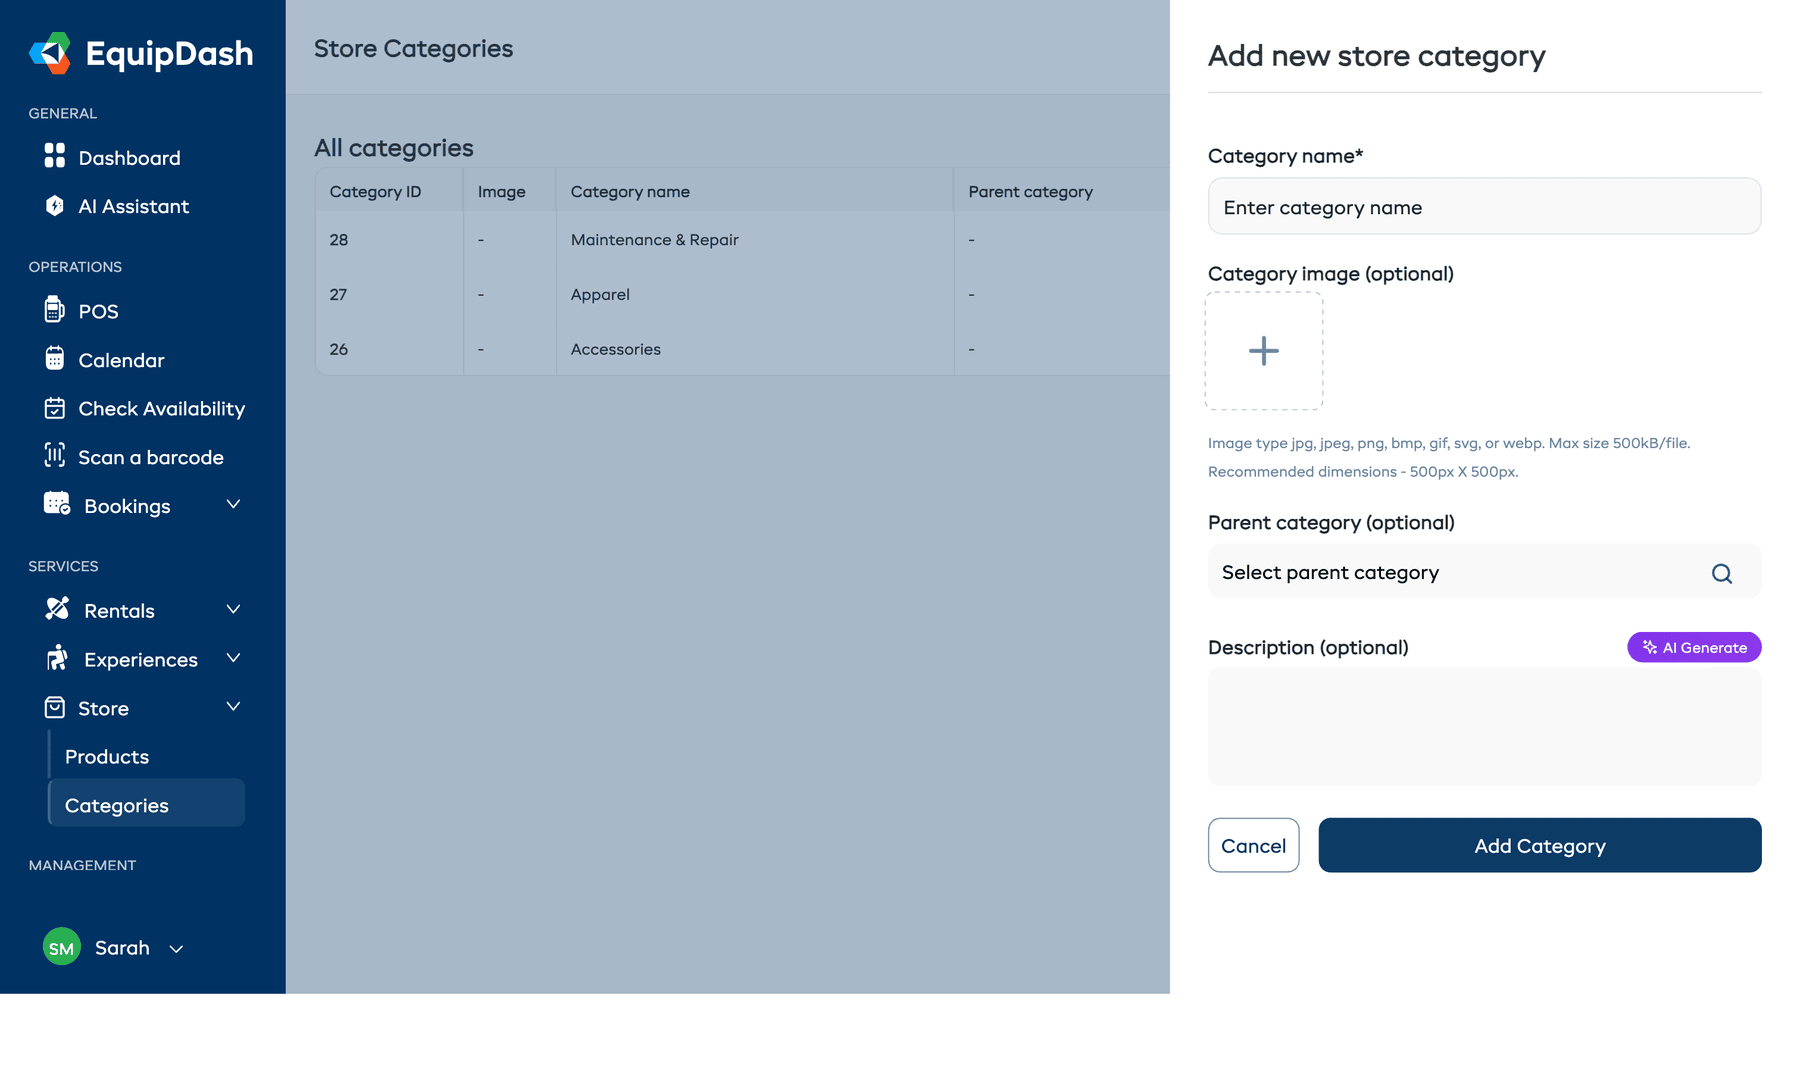
Creating a Category
- Go to Store > Categories in the left sidebar.
- Click Add Category.
- Enter a Category name for the category (e.g., "Accessories"). This field is required.
- Optionally upload a Category image -- this image is displayed on category cards in the store widget, helping customers visually identify product groups.
- Optionally select a Parent category to make this a sub-category.
- Optionally enter a Description to provide more context. You can click AI Generate to automatically create one.
- Click Add Category.
Category Hierarchy
Categories support a parent-child structure. For example:
Accessories
  +-- Wax & Tuning
  +-- Locks & Storage
  +-- Safety Gear
Apparel
  +-- T-Shirts
  +-- Jackets
Maintenance Kits
When customers browse the store widget, they can filter by top-level categories. If they select a category that has sub-categories, the sub-categories appear as additional filters.
Category Images
Each category can have an image that is displayed in the store widget's category navigation. This helps customers quickly identify and browse product groups visually.
To add or change a category image:
- Go to Store > Categories.
- Click the Edit icon (pencil icon) in the Actions column for the category.
- Upload or replace the Category image.
- Click Save.
Use consistent, clear images for your categories. Square images work best for the category cards displayed on the store widget.
Editing a Category
- Go to Store > Categories.
- Click the Edit icon (pencil icon) in the Actions column for the category you want to change.
- Update the name, description, image, or parent category.
- Click Save.
Deleting a Category
- Go to Store > Categories.
- Click the Delete icon (trash icon) in the Actions column for the category.
- Confirm the deletion.
Important rules for deleting categories:
- A category cannot be deleted if it has products assigned to it. Reassign or remove the products first.
- If a parent category is deleted, its child categories are automatically moved up to the deleted category's parent (or become top-level if there was no parent).

Assigning Products to Categories
Products are assigned to categories when you create or edit them:
- Go to Store > Products and open a product.
- Select a Category from the dropdown.
- Save the product.
Each product can belong to one category. If you need a product to appear in multiple sections, consider restructuring your category hierarchy.
Related Guides
- Creating Store Products -- Adding products to your store.
- Managing Store Products -- Editing and managing products.
- Store on the Booking Widget -- How categories appear on the customer-facing widget.