Getting Started with the AI Assistant ProThis feature requires the Pro plan
This guide walks you through opening the AI Assistant for the first time, sending your first message, and exploring the features that make it a powerful part of your daily workflow.
Opening the AI Assistant
There are two ways to access the AI Assistant. Choose whichever suits the moment.
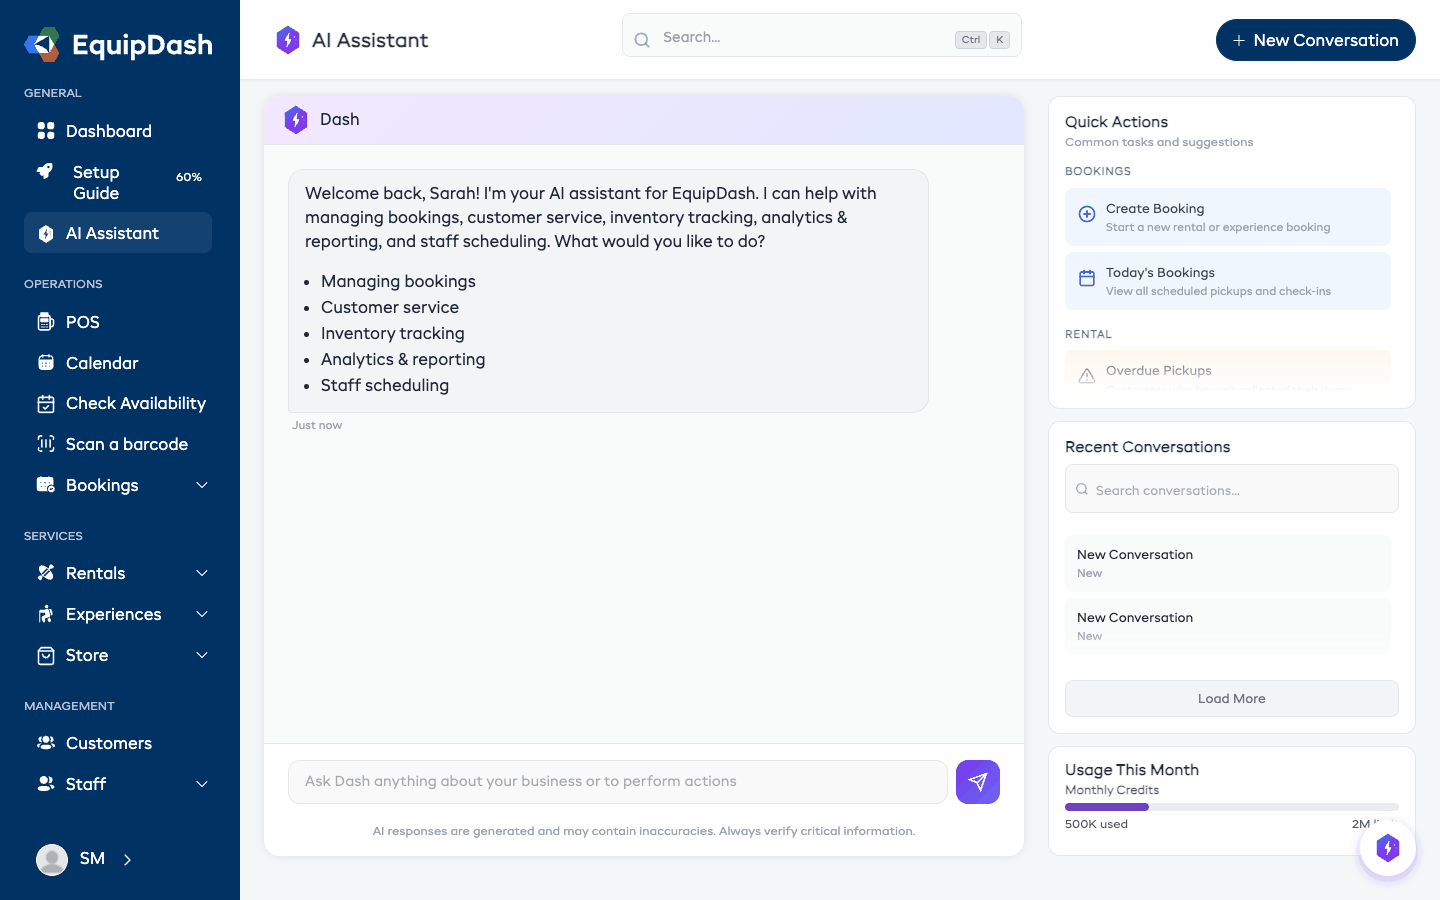
Full-Page View
The full-page view gives you the most room to work. It includes a conversation history sidebar, quick action cards, and a spacious chat area.
- Click AI Assistant in the main sidebar navigation.
- The full-page assistant opens with a welcome message and quick action cards.
Sidebar Panel
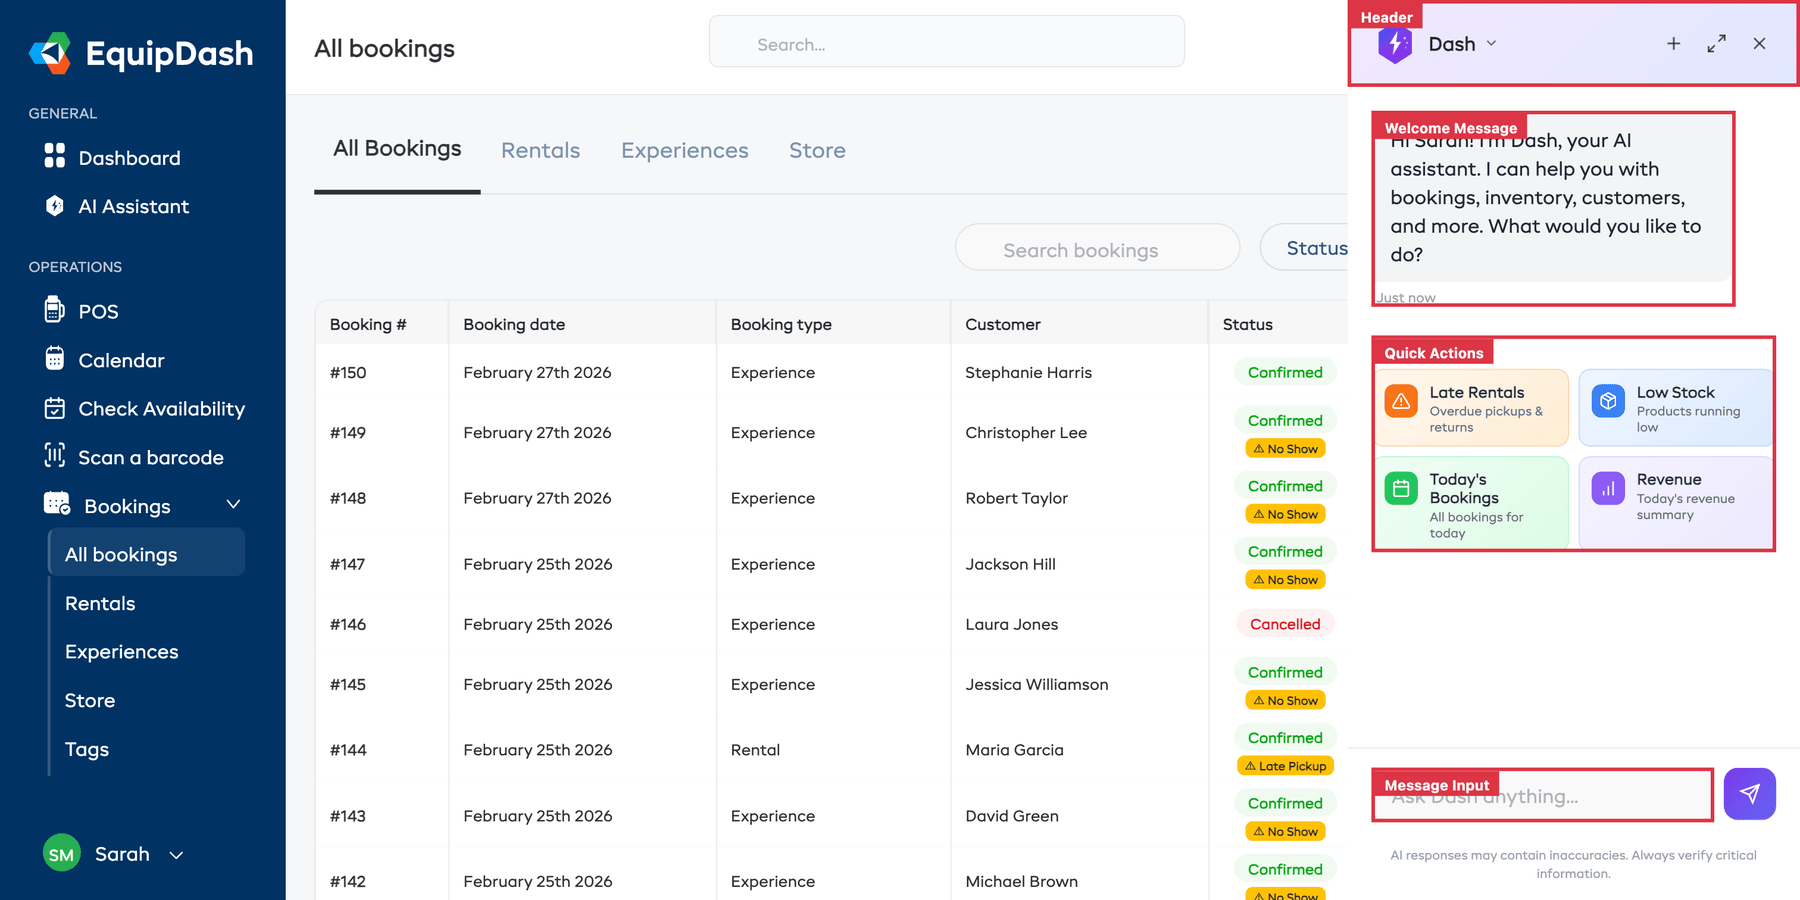
The sidebar panel lets you chat with the assistant without leaving the page you are on.
- Click the Dash floating button in the bottom-right corner of any page (it shows the Dash logo).
- A compact chat panel slides open on the right side of your screen.
Sending Your First Message
- Click into the message input box at the bottom of the assistant.
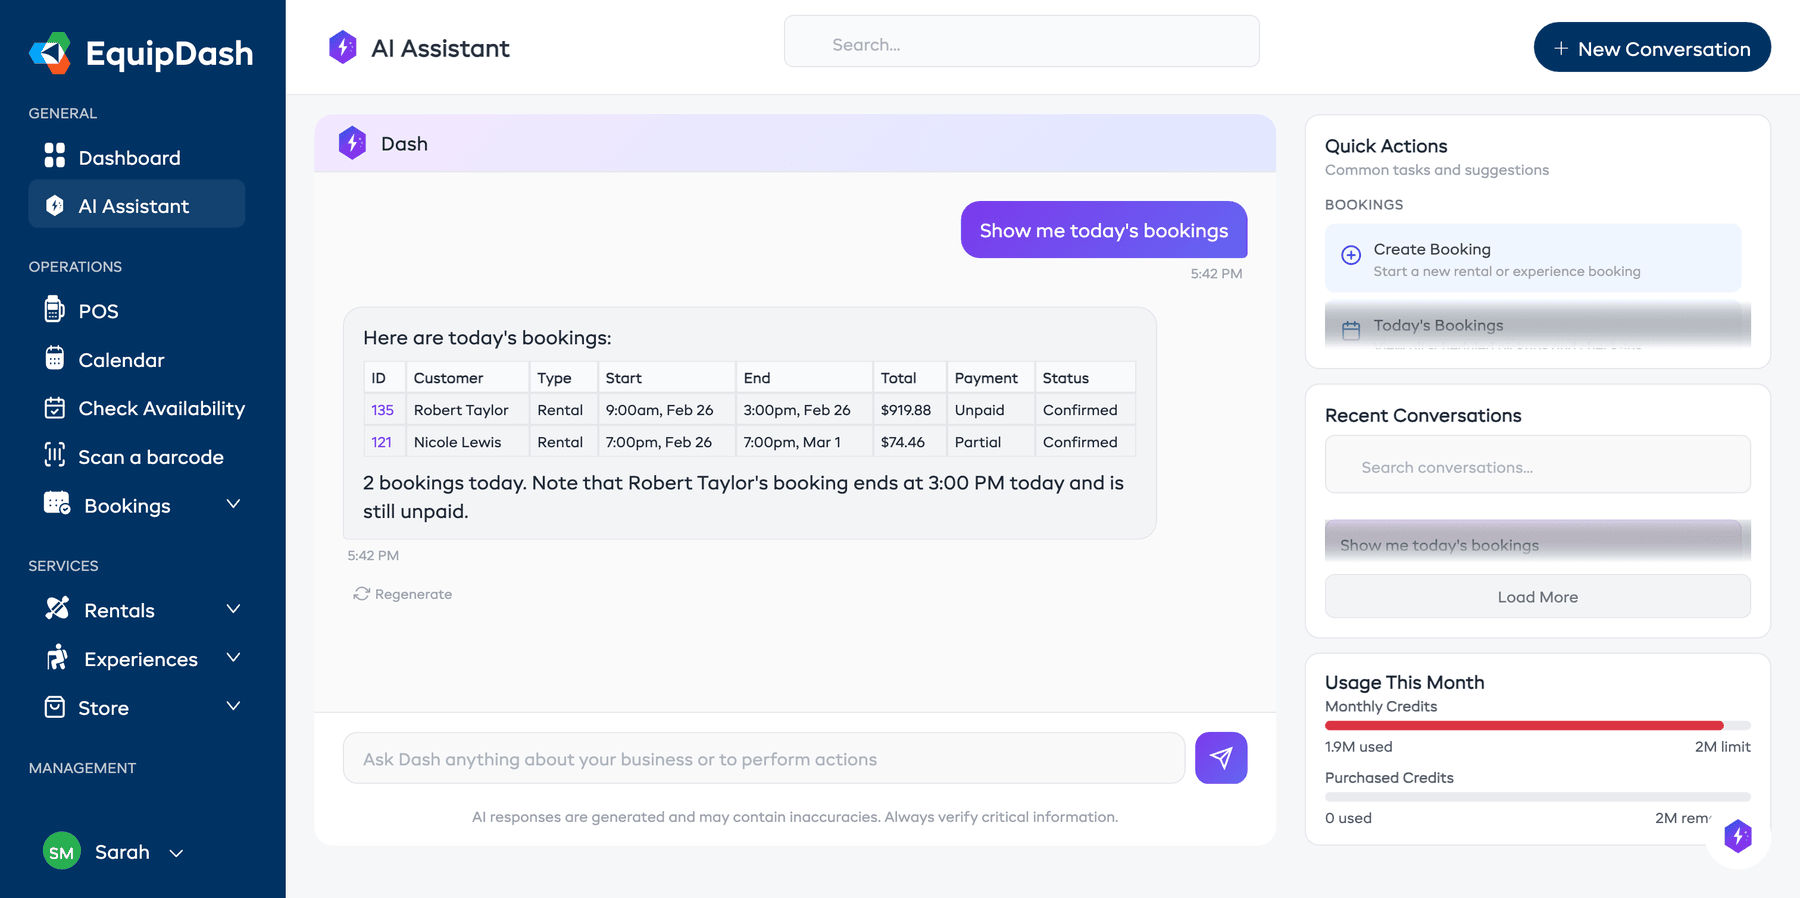
- Type your question or request in plain English. For example:
Show me today's bookings - Press Enter or click the Send button.
- The assistant will display a typing indicator while it looks up the information.
- After a moment, the response appears in the conversation thread.
Using Quick Actions
Quick actions are pre-built prompts that let you get common answers with a single click. They are organized by category.
Full-Page Quick Actions
When you start a new conversation on the full page, the right-hand panel shows quick action cards grouped into categories:
- Bookings — Create Booking, Today's Bookings
- Rental — Overdue Pickups, Overdue Returns, Check Availability, Low Inventory, In Workshop
- Experiences — Next Check-ins, Experience Schedule, Today's Experiences
- Customers — Create Customer, Check Waiver, This Week's Customers, Search Customer
- Staff — Today's Roster, Tomorrow's Roster
- Business Insights — Week Comparison, Peak Hours, Top Products, Top Experiences
- Browse the quick action categories.
- Click any quick action card.
- The assistant immediately starts working on that request — no typing needed.
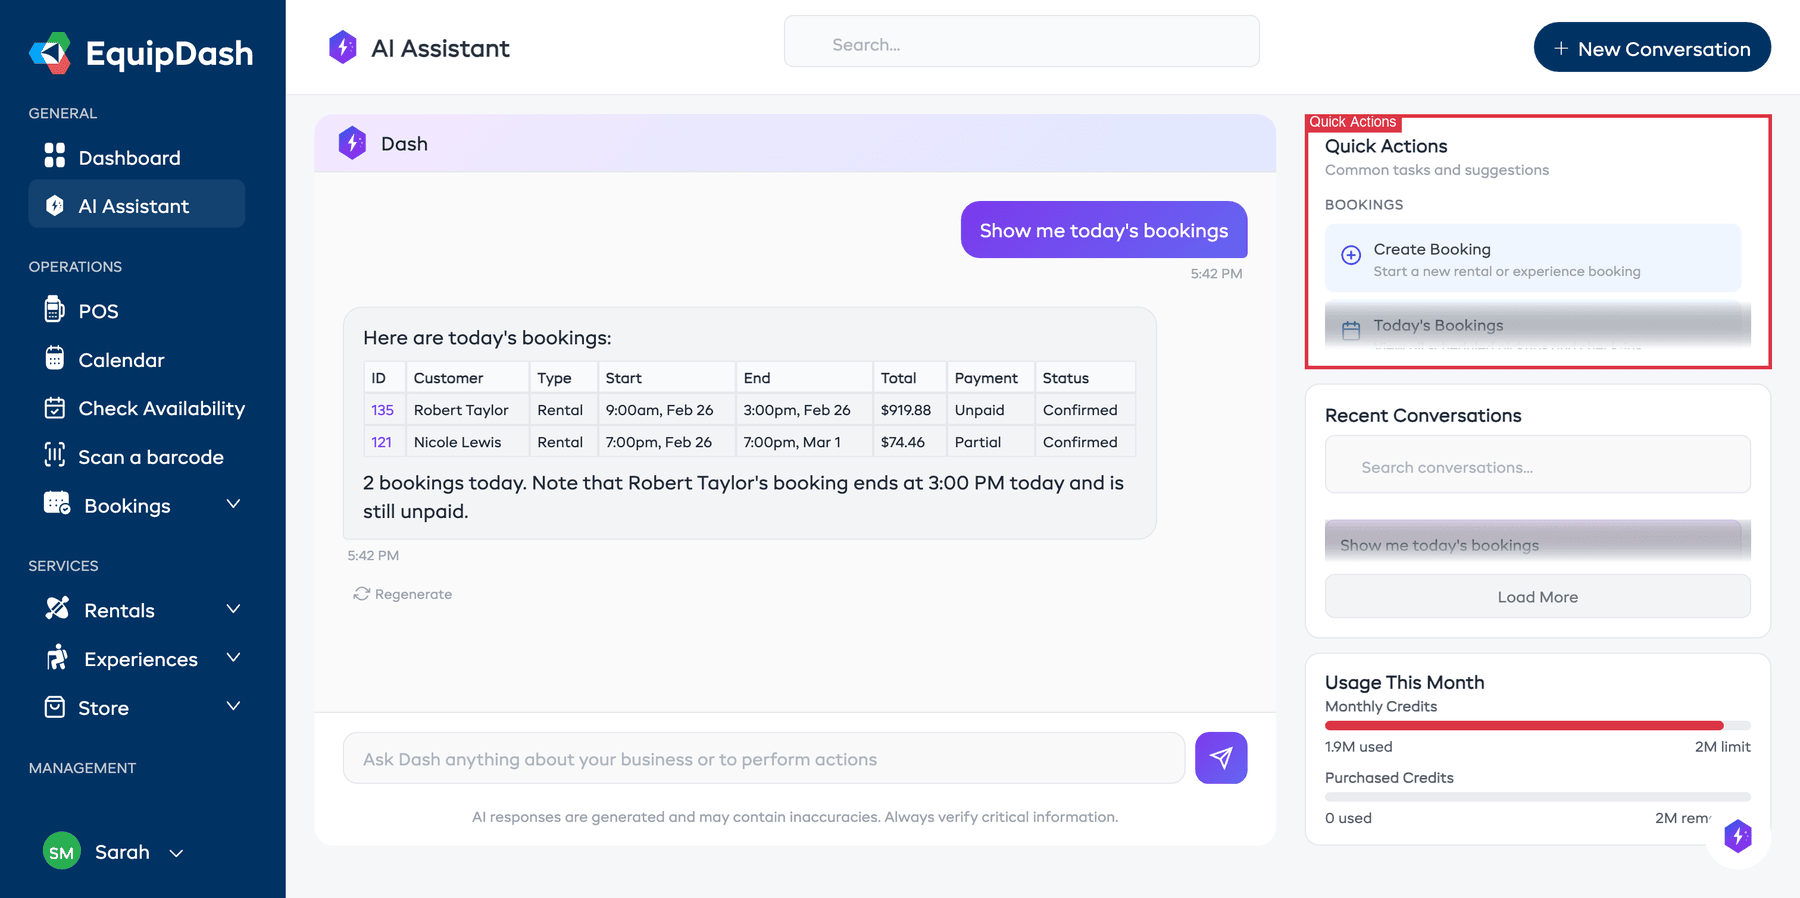
Sidebar Quick Actions
The sidebar panel shows four compact quick action buttons at the top:
- Late Rentals — Overdue pickups and returns
- Low Stock — Products running low on inventory
- Today's Bookings — All bookings for today
- Revenue — Today's revenue summary
Click any of these to get an instant answer.
Following Up on a Response
After the assistant responds, you will often see suggested follow-up prompts below the response. These are context-aware suggestions based on what you just asked.
- Read the assistant's response.
- Look for the suggested follow-up buttons below the response.
- Click a suggestion to continue the conversation, or type your own follow-up question.
For example, after asking "Show me today's bookings," you might see suggestions like "Show overdue returns" or "What is today's revenue?"
Managing Conversations
Starting a New Conversation
- Click the + New Conversation button in the top-right corner of the page.
- The assistant clears the current chat and shows the welcome screen with quick actions.
Each new conversation starts fresh, so the assistant will not carry over context from a previous chat.
Switching Between Conversations
- In the full-page view, look at the Recent Conversations section in the right-hand panel.
- Click any previous conversation to reload it.
- The full message history for that conversation appears in the chat area.
Searching Conversations
- Use the search box at the top of the Recent Conversations section.
- Type a keyword to filter your past conversations.
- The list updates to show only conversations that match your search.
Renaming a Conversation
- Hover over a conversation in the Recent Conversations list.
- Click the rename icon (pencil).
- Type a new name and press Enter to save.
Archiving a Conversation
- Hover over a conversation in the Recent Conversations list.
- Click the archive icon (trash).
- The conversation is removed from the list but is not permanently deleted.
Regenerating a Response
If the assistant's response is not quite right, you can ask it to try again.
- Scroll to the bottom of the assistant's last response.
- Click the Regenerate button.
- The assistant re-processes your last message and provides a new response.