Rate Categories
Rate categories let you charge different per-person prices for different types of participants. For example, you might have an "Adult" rate at full price, a "Child" rate at a discount, and a "Senior" rate somewhere in between.
What Are Rate Categories?
A rate category is simply a label that represents a type of participant. When a customer books an experience with per-participant pricing, they select how many people of each category are coming, and the total is calculated using the price you set for each category.
Common examples:
- Adult
- Child (5-12)
- Senior (65+)
- Student
- Infant (Free)
You can create any categories that make sense for your business.
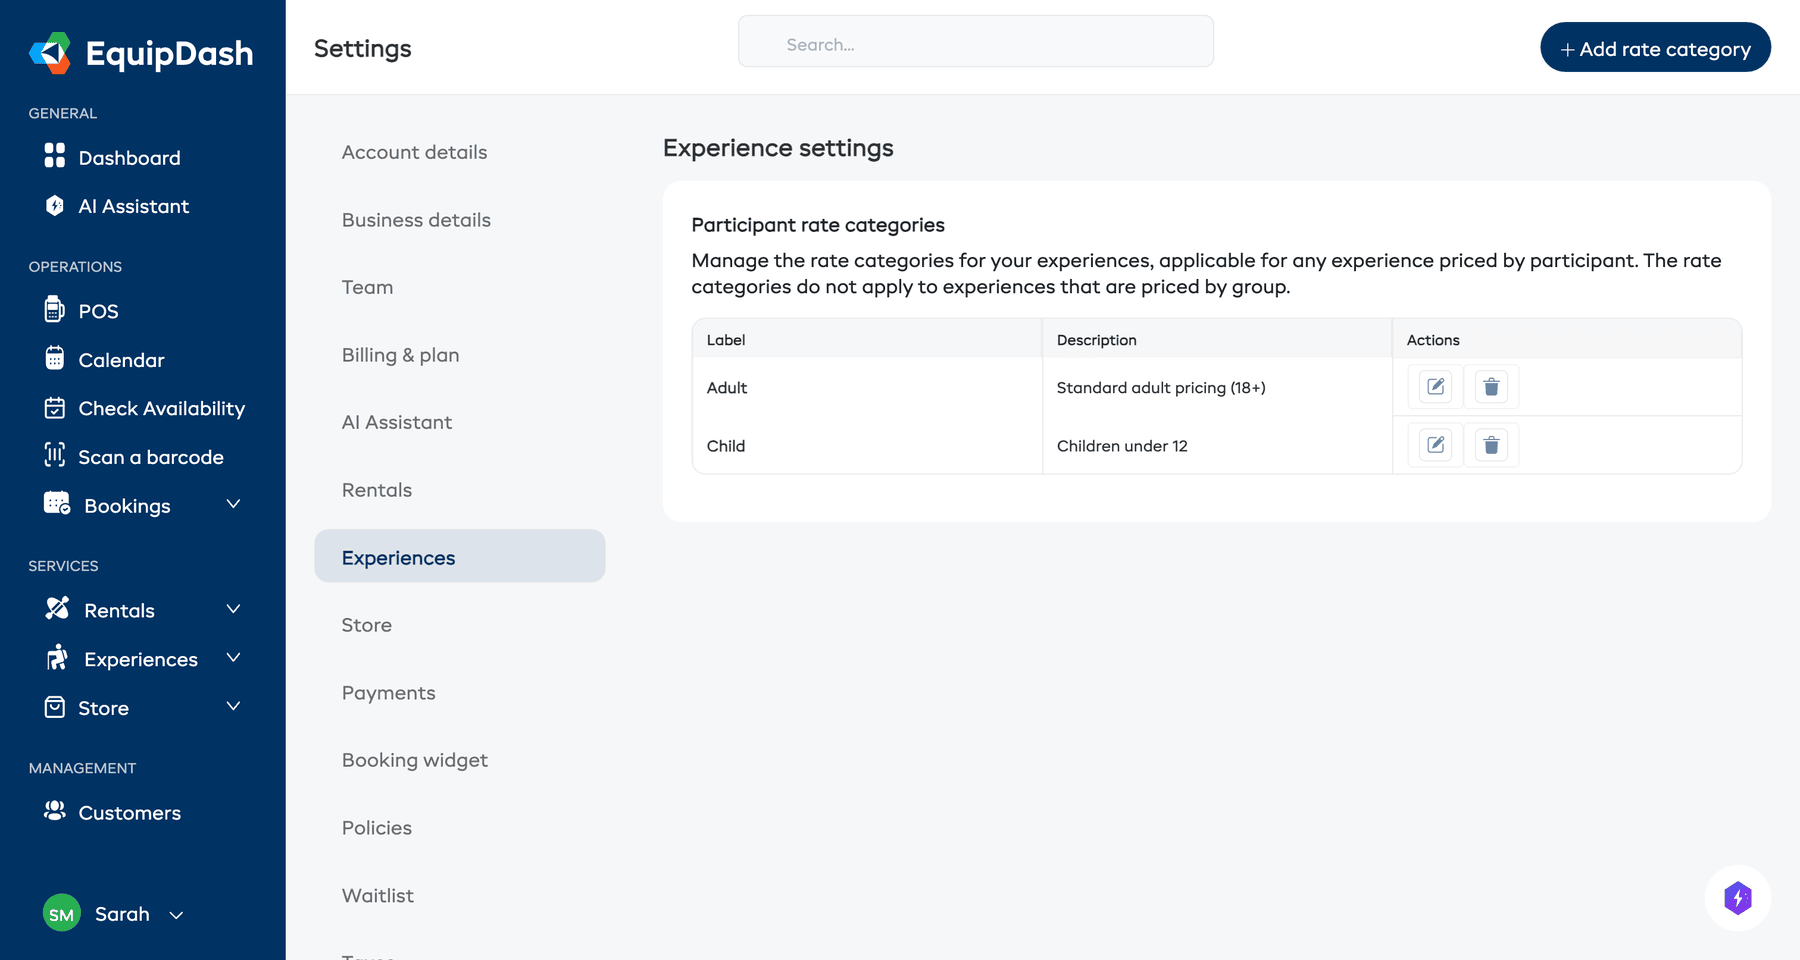
Setting Up Rate Categories
Rate categories are configured at the account level in Settings, so they are available across all your experiences.
- Click Settings in the sidebar.
- Go to the Experiences section.
- Click + Add rate category.
- Enter a Label for the category (e.g. "Adult", "Child (5-12)").
- (Optional) Enter a Description to clarify who qualifies (e.g. "Standard adult pricing (18+)").
- Click Save.
Repeat for each category you need.
Using Rate Categories in an Experience
When you create or edit an experience and choose Per Participant as the price structure (in Step 2 of the wizard), you will see your rate categories listed as checkboxes.
- Tick the checkbox next to each rate category you want to use for this experience.
- Enter the price for each selected category.
- If using Seasonal pricing, enter the price for each category within each season.
You do not have to use every rate category for every experience. Just select the ones that apply. For example, a "Wine Tasting Tour" might only use the "Adult" category, while a "Family Kayak Trip" might use "Adult" and "Child".
How Rate Categories Appear in the Booking Widget
When a customer views an experience with per-participant pricing in the booking widget, they see a quantity selector for each rate category that has a price set.
The customer selects how many people of each type, and the total price updates automatically.
Editing and Deleting Rate Categories
Editing
- Go to Settings > Experiences.
- Click the Edit icon next to the category you want to change.
- Update the label and click Save.
Changing the label will update it everywhere it appears, including in the booking widget.
Deleting
- Go to Settings > Experiences.
- Click the Delete icon next to the category you want to remove.
- Confirm the deletion.
Deleting a rate category will remove it from any experiences that currently use it. Those experiences may need their pricing updated after the category is removed.
Tips
- Keep labels clear for customers. Use labels like "Child (5-12)" rather than just "Child" so customers know who qualifies.
- You can create a "Free" category. Set the price to 0 for categories like "Infant" or "Observer" that you want to track but not charge for.
- Rate categories are shared across all experiences. You only need to create each category once. Then select the relevant ones per experience.