Saved Groups
If you book the same set of people again and again — a team, a class, a regular crew — a Saved Group lets you build the roster once and reuse it forever. Attach the group to a booking and its members become the booking's participants instantly.
Creating a Group
- Go to Customers → Groups in the sidebar.
- Click + New group.
- Give the group a name (e.g. Tuesday Crew).
- Optionally pick the organization it belongs to (see Organization Customers).
- Add members:
- Search customers to add… — find existing customers and click to add them.
- Add someone new — expand it to create a brand-new customer straight into the roster.
- Click Create group.
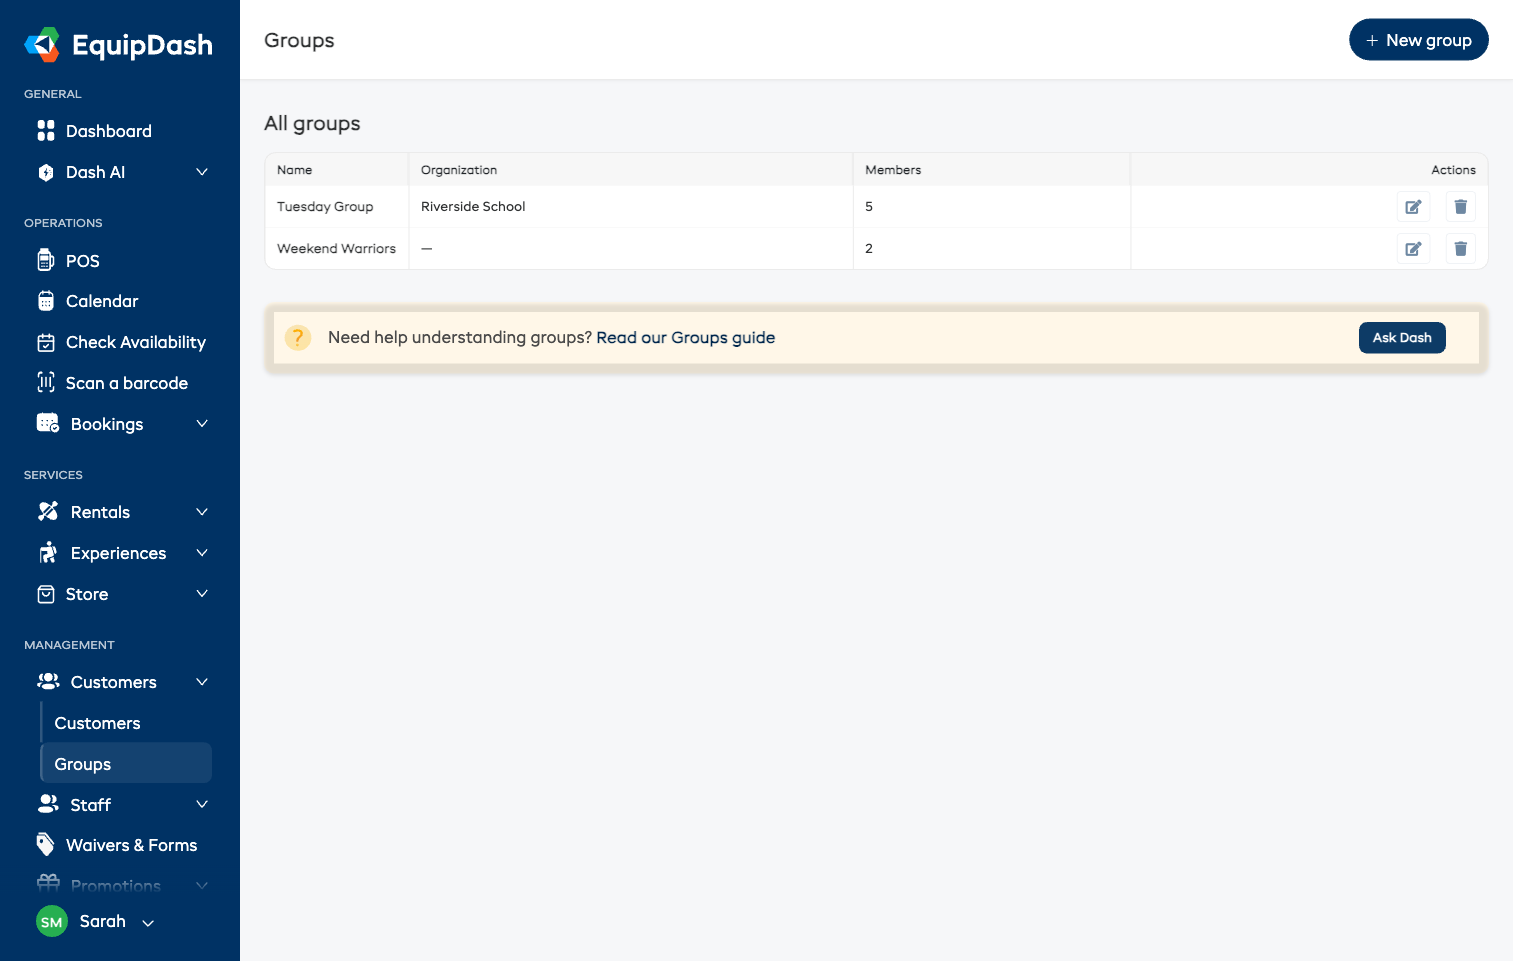
Every group in the list is a link — click anywhere on a row to open it.
The Group Page
Click a group to open its own page. It has two tabs: Group detail and Bookings.
Group detail
The Members table is your roster. For each person you see their name, email and phone, and you can fill in:
- Emergency contact and Emergency phone — who to call for that person on the day.
- Notes — anything the team should know (allergies, experience level, and so on).
These save automatically as you type — just click out of the field. Each member's name is a link to their full customer record.
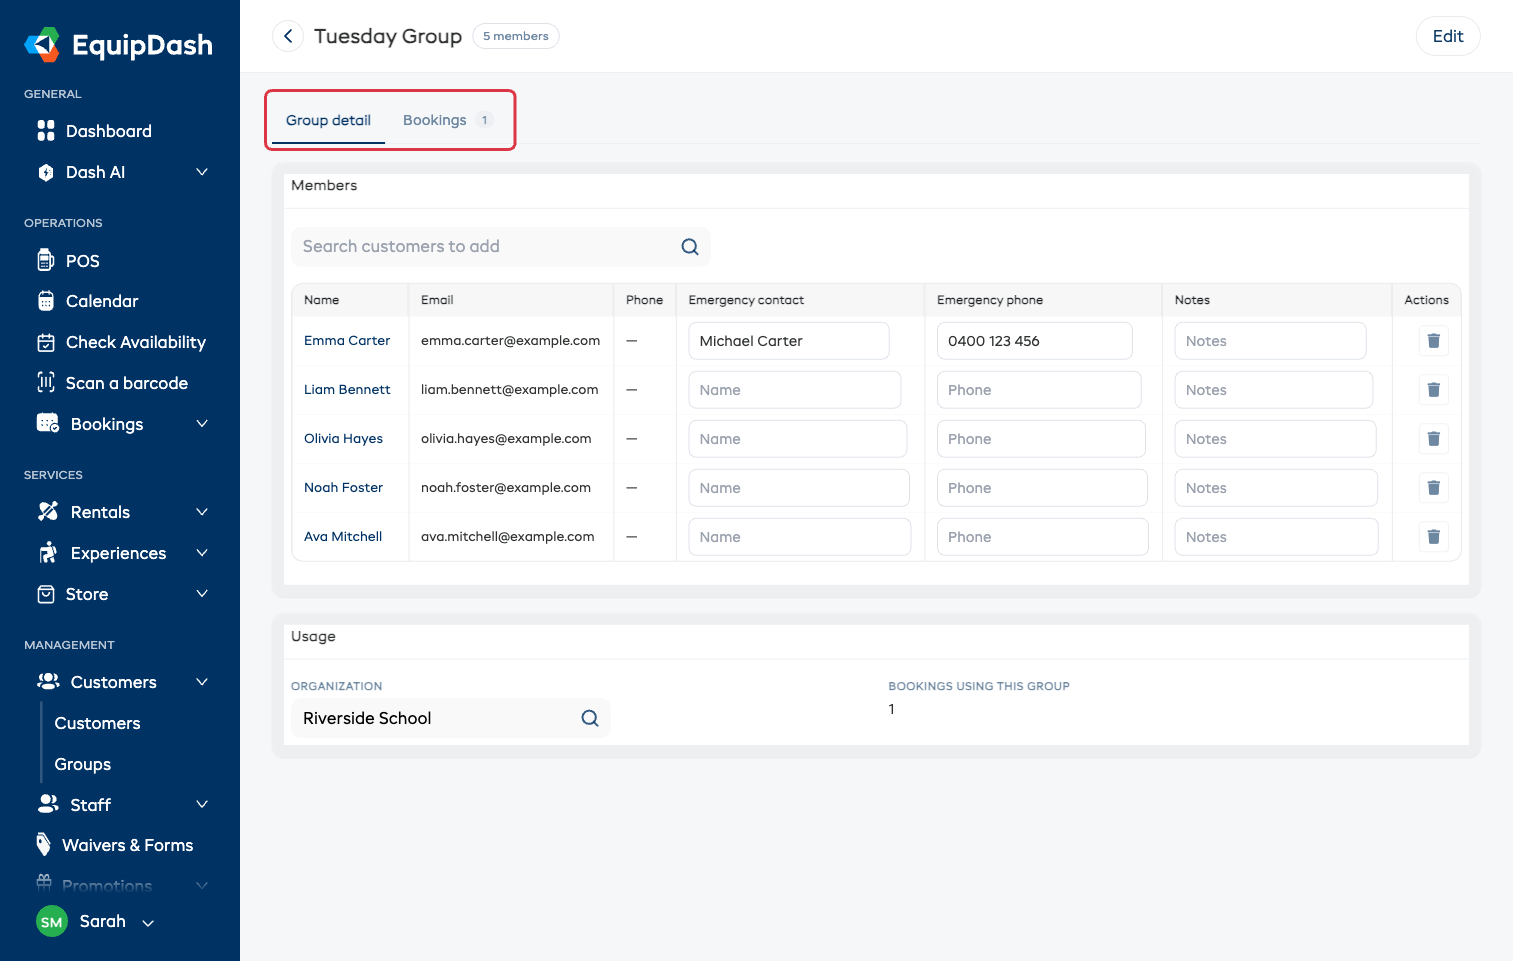
- Add people — use Search customers to add above the table and click a result.
- Remove someone — click the trash icon on their row. Removing them here never touches bookings you've already made.
- Organization — under Usage, if you take organization bookings you can link the group to the organization that owns it. Bookings using this group shows how many bookings the roster has been added to.
To rename the group, use the Edit button in the top-right.
Bookings
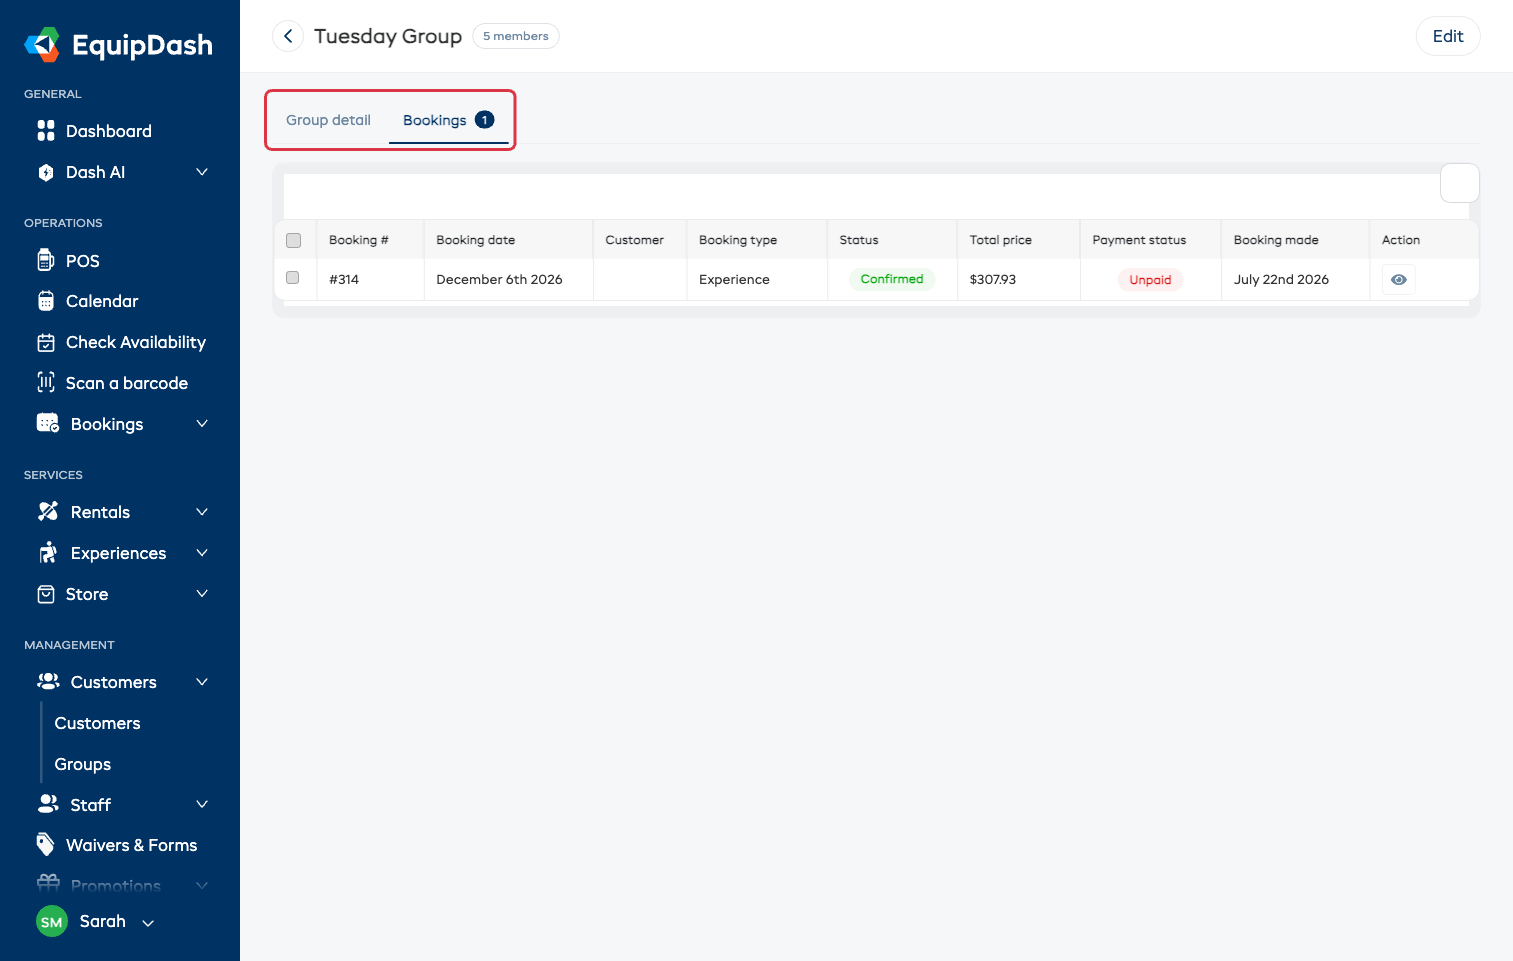
The Bookings tab lists every booking this group has been added to, so you can see the roster's whole history in one place.
Seeing a Customer's Groups
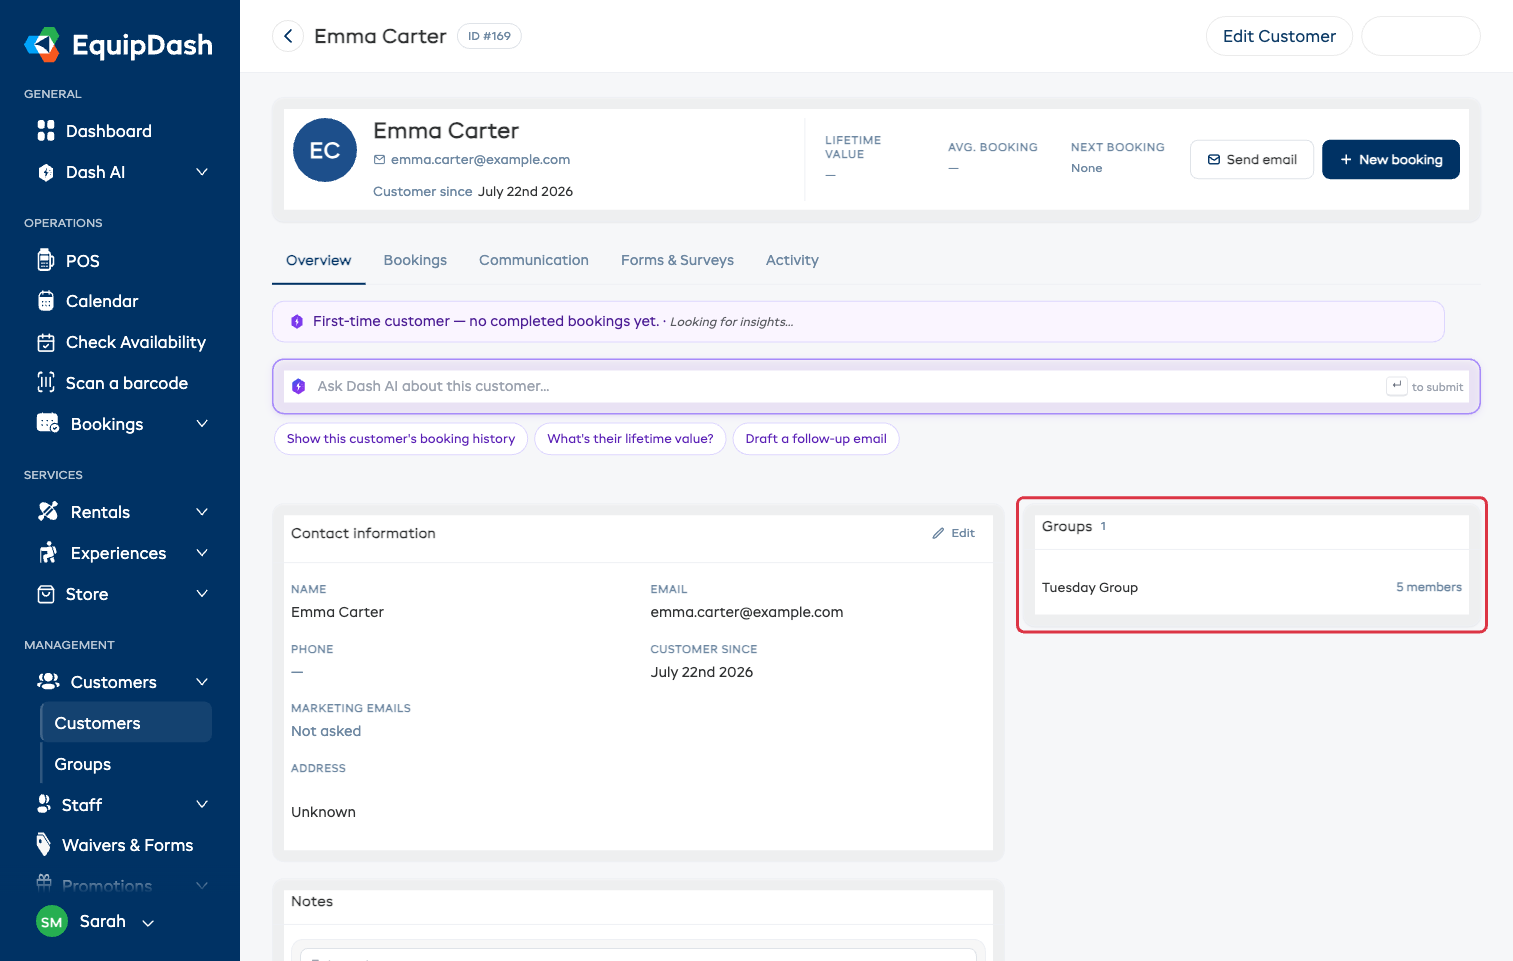
Open any customer and the groups they belong to appear in a Groups card on their Overview tab. Each one links straight to the group's page.
Using a Group in a Booking
When you create a booking in the POS for something that needs participants:
- Open the Participants panel on the cart row.
- Click the bulk-actions menu (the ⋮ button) and pick Add from group: your group.
- The empty seats fill with the group's members — already-filled seats are left alone.
You can also attach a group via the REST API or by asking the AI assistant ("attach Tuesday Crew to booking 123").
Good to Know
- Bookings are snapshots. Once a group is attached, the booking keeps its own copy of the roster. Editing or deleting the group later never changes bookings you already made — and deleting a group never deletes the customers in it.
- Deduped automatically. If someone in the group is already a participant on the booking, they won't be added twice.
- Members are real customers. Group members appear in your customer list like anyone else — with their own history, waivers, and contact details.