Custom Roles ProThis feature requires the Pro plan
Custom roles let you define reusable permission sets that go beyond the built-in Admin, Manager, and Staff roles. Create a role once, then assign it to as many team members as you need.
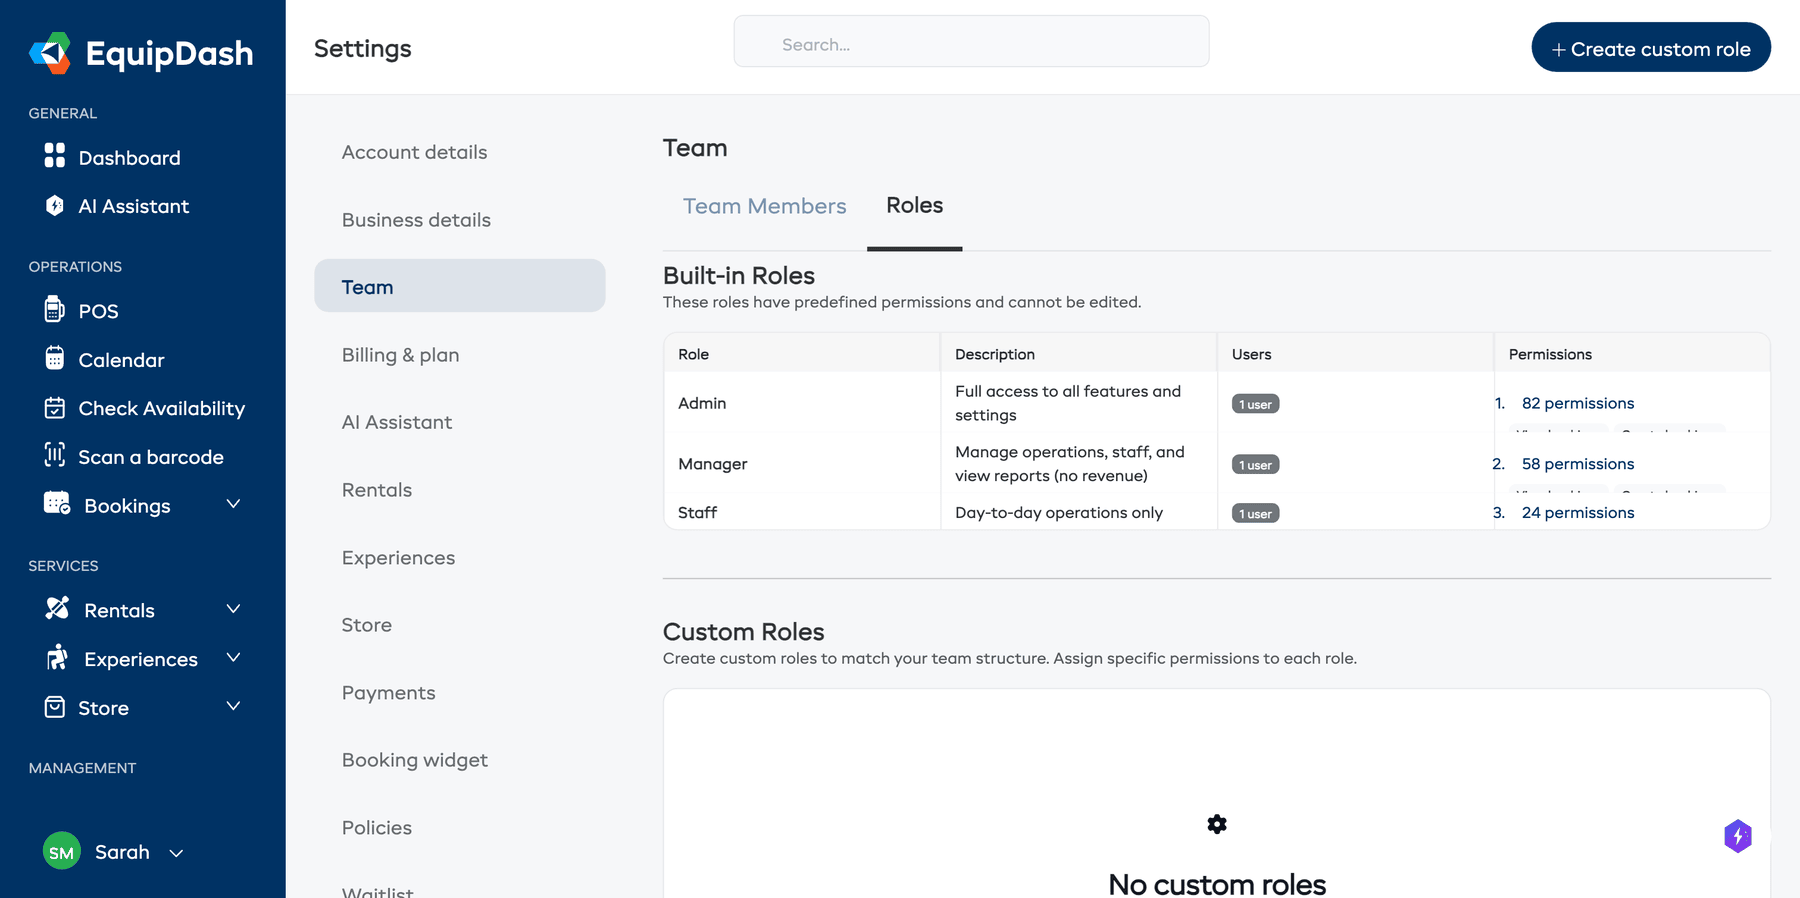
Creating a Custom Role
- Click Settings in the sidebar.
- Select Team from the settings menu.
- Click the Roles tab.
- Click + Create custom role.
- Enter a Role name (e.g., "Guide", "Bookkeeper", "Inventory Manager").
- Select the permissions this role should have. Permissions are grouped by category:
- Bookings -- view, create, edit, cancel, delete, payments, refunds, fulfillment
- Products -- view, create, edit, delete, inventory, workshop, categories
- Experiences -- view, create, edit, delete, categories
- Customers -- view, create, edit, delete, export
- Staff -- view, manage, schedules
- Waivers & Forms -- view, manage
- Surveys -- view, manage, analytics
- Promotions -- view, manage
- Campaigns -- view, manage
- Reports -- overview, revenue, rentals, experiences, customers, inventory, export
- Calendar -- view
- Settings -- various settings pages
- Dashboard -- revenue visibility
- Barcodes -- view, manage, scan
- AI Assistant -- access, settings
- Use Select All or Deselect All for quick bulk changes.
- Click Create.
Assigning a Custom Role
Once you have created a custom role, you can assign it to team members:
- Go to Settings > Team.
- Click + Add team member (for new members) or Edit (for existing members).
- Select Custom as the role.
- Choose the custom role from the Custom Role dropdown.
- Click Update.
Editing a Custom Role
- Go to Settings > Team, then click the Roles tab.
- Click Edit next to the role you want to change.
- Adjust the permissions as needed.
- Click Update.
Changes apply immediately to all team members who are assigned that custom role.
Deleting a Custom Role
- Go to Settings > Team, then click the Roles tab.
- Click Delete next to the role.
- Confirm the deletion.
caution
You cannot delete a custom role that is currently assigned to team members. Reassign those team members to a different role first.
Custom Roles vs. Individual Permissions
EquipDash supports two ways to customize access:
| Approach | Best for |
|---|---|
| Custom Role | Reusable permission sets shared by multiple team members (e.g., all guides get the same access) |
| Individual Permission Overrides | One-off adjustments for a specific team member (see Managing Permissions) |
Individual permission overrides take priority over custom role permissions.