Custom Fields
Custom fields let you add your own data fields to bookings, products, experiences, staff members, and customers. Use them to capture any information that is not covered by the built-in fields -- for example, a "Special Requirements" field on bookings or an "Employee ID" on staff records.
Accessing Custom Fields
- Click Settings in the sidebar.
- Select Custom fields from the settings menu. It lives in the Connections & advanced group of the settings menu.
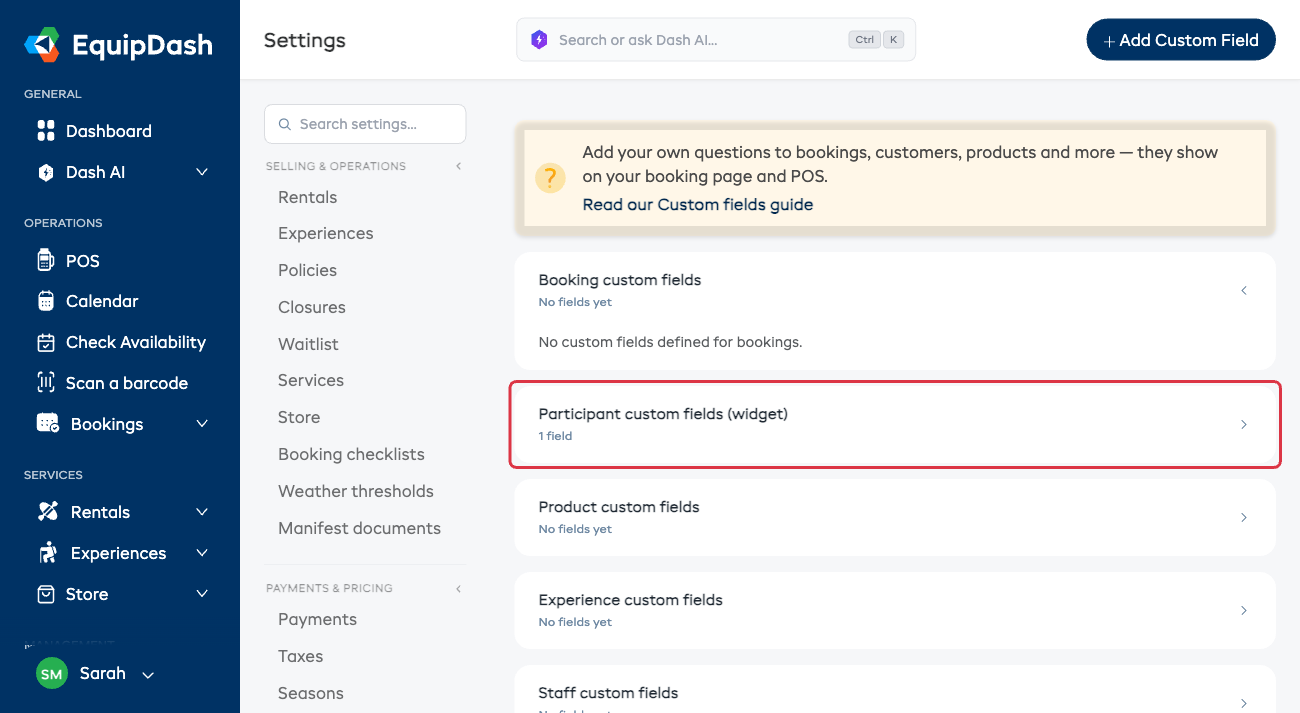
- You will see the custom fields page, organized into collapsible sections by entity type:
- Booking custom fields
- Participant custom fields (widget)
- Product custom fields
- Experience custom fields
- Staff custom fields
- Customer custom fields
Each section shows a summary of how many fields it holds (or No fields yet). The Booking and Customer sections are open by default; click any section header to expand or collapse it. Inside an open section you will see a table of the custom fields you have created for that type, or a message saying no custom fields are defined yet.
Adding a Custom Field
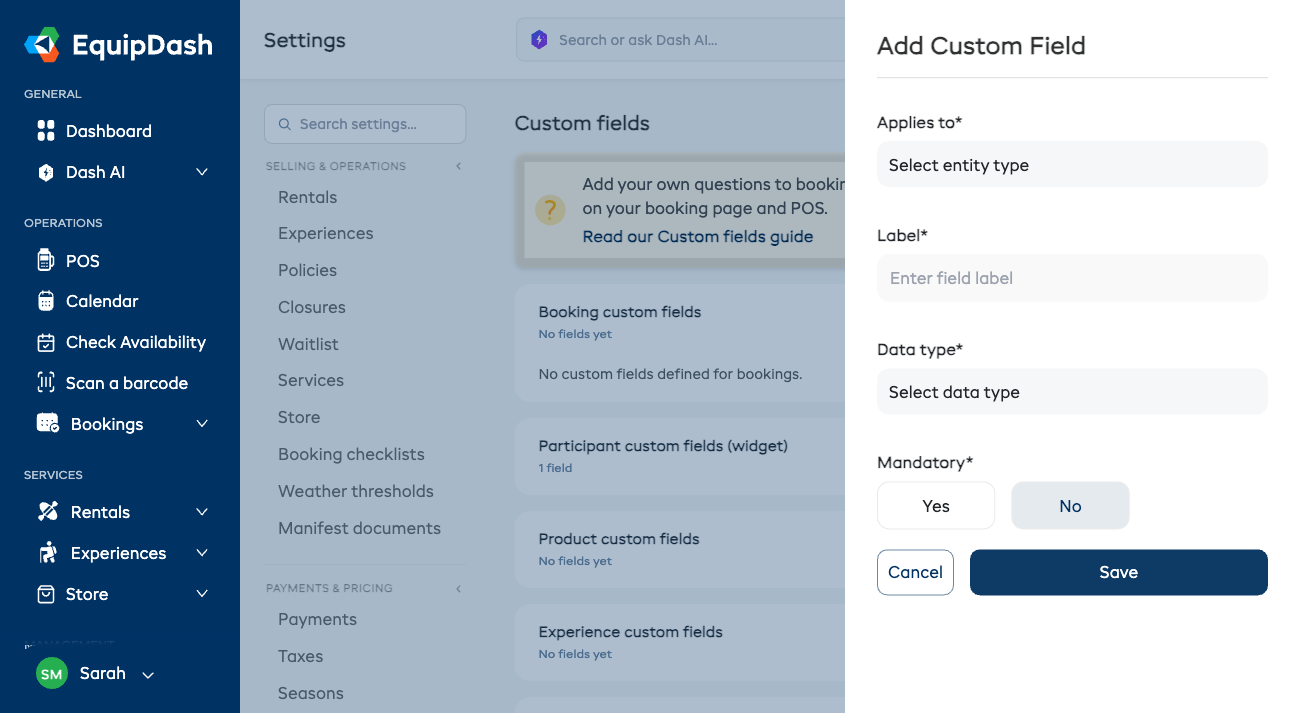
- Click Add Custom Field in the top right corner. A side panel opens. (Only Admins see this button.)
- Fill in the following:
- Applies to -- select which entity type this field belongs to (Booking, Booking participant, Product, Experience, Staff, or Customer).
- Label -- the name of the field as it will appear on forms (e.g., "Special Requirements", "License Number").
- Data type -- choose the type of data this field will hold (see table below).
- Mandatory -- select Yes if this field must be filled in, or No if it is optional.
- Show on POS -- appears only when Applies to is Booking or Booking participant. Set to No to collect the field on your booking page only, so cashiers do not see it when creating a booking on the POS. The customer-facing booking page always shows it.
- Click Save.
The Booking participant scope renders the field on every participant card in widget checkout — so each participant answers separately. Use it for per-person data like helmet size or dietary needs. See Custom Fields on the Widget.
Available Data Types
| Data Type | Best for |
|---|---|
| Single Line Text | Short text like names, IDs, or codes |
| Multi-line Text | Longer text like notes, descriptions, or special instructions |
| Number | Numeric values like quantities, measurements, or ratings |
| Date | A date value (e.g., expiry date, certification date) |
| Date & Time | A date and time value (e.g., arrival time, pickup time) |
| Dropdown (single choice) | A single-choice dropdown (you define the options) |
| Checkboxes (multi-choice) | Multiple-choice checkboxes (you define the options) |
| Single checkbox | A single on/off checkbox |
| Phone number | Phone-formatted input |
| Email-formatted input | |
| Yes / No | Yes / No radio buttons |
Managing Custom Fields
For each custom field in the list, you can see the Label, Data Type, and Mandatory status. Admins also see an Actions column with edit and delete icons.
- Edit -- click the pencil icon to change the label, data type, or mandatory setting. The entity type cannot be changed after creation.
- Delete -- click the trash icon to permanently remove the field. You will be asked to confirm. Any data previously entered in this field on existing records will be lost.
Things to Keep in Mind
- Custom fields appear on the relevant forms throughout the app. For example, a booking custom field will appear when creating or editing a booking.
- Changing a field from optional to mandatory will not retroactively require existing records to have a value. It only applies to new entries going forward.
- Deleting a custom field permanently removes it and any data stored in that field across all records.
- There is no limit to the number of custom fields you can create.