Customer Self Check-In
Self check-in lets your customers check themselves in for an experience — so your guide isn't standing at the dock scanning everyone one by one. Customers either tap "I'm here" on their own ticket, or scan a poster at your meeting point and find their booking. If they haven't signed a waiver yet, they sign it right there before they're checked in.
Your gear and safety checks stay with your team — self check-in records that the customer has arrived and handles the waiver, but it never completes a staff checklist.
Turning It On
Self check-in is one switch for your whole account.
- Go to Settings → Experiences.
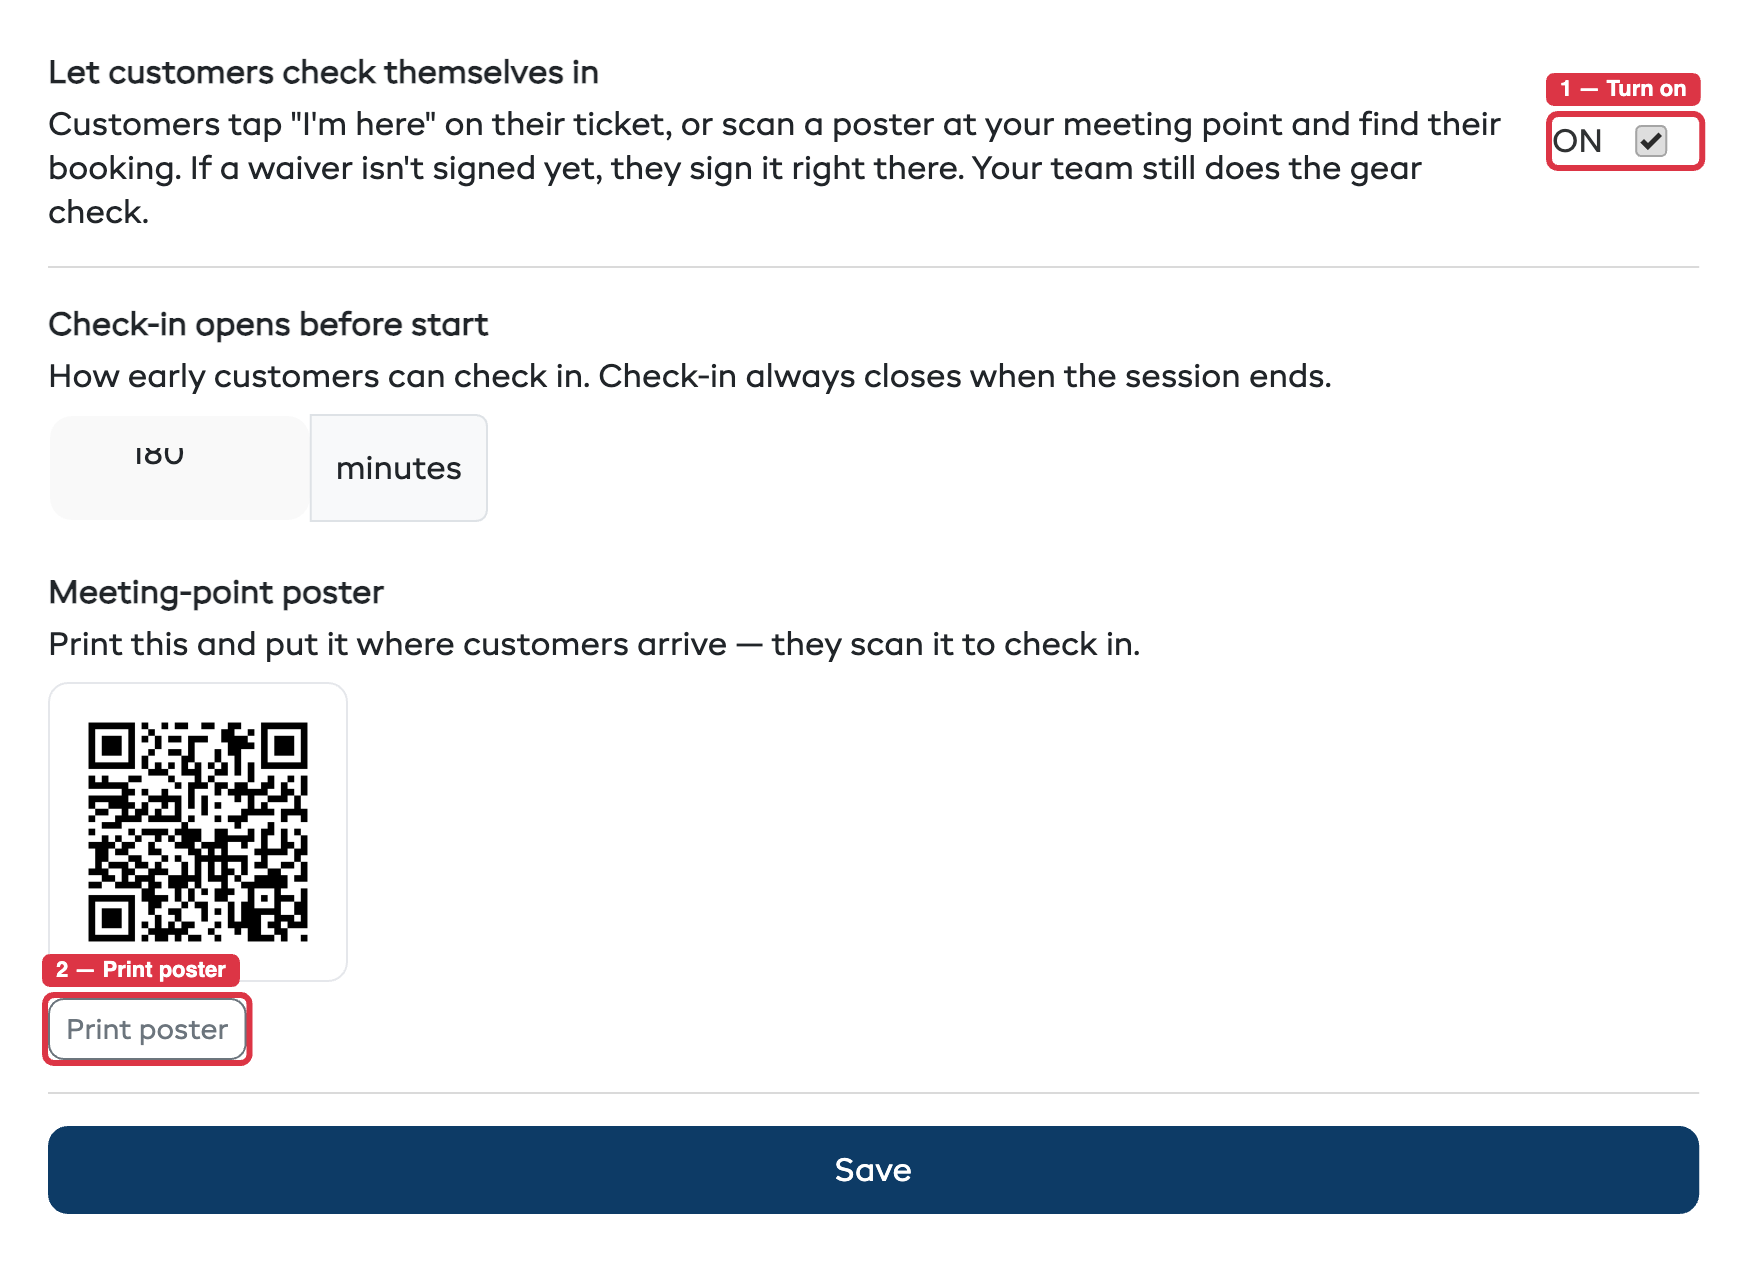
- Find Let customers check themselves in and turn it on.
- Choose how early check-in opens before a session starts (default: 120 minutes). Check-in always closes when the session ends.
- A printable meeting-point poster appears — print it and put it where customers arrive.
When the switch is off, nothing changes for customers — tickets work exactly as before.
How Customers Check In
There are two ways in, and both lead to the same result.
On their ticket
Every experience booking already comes with a ticket. When self check-in is on and the session is within the check-in window, the ticket page shows an "I'm here — check in" button.
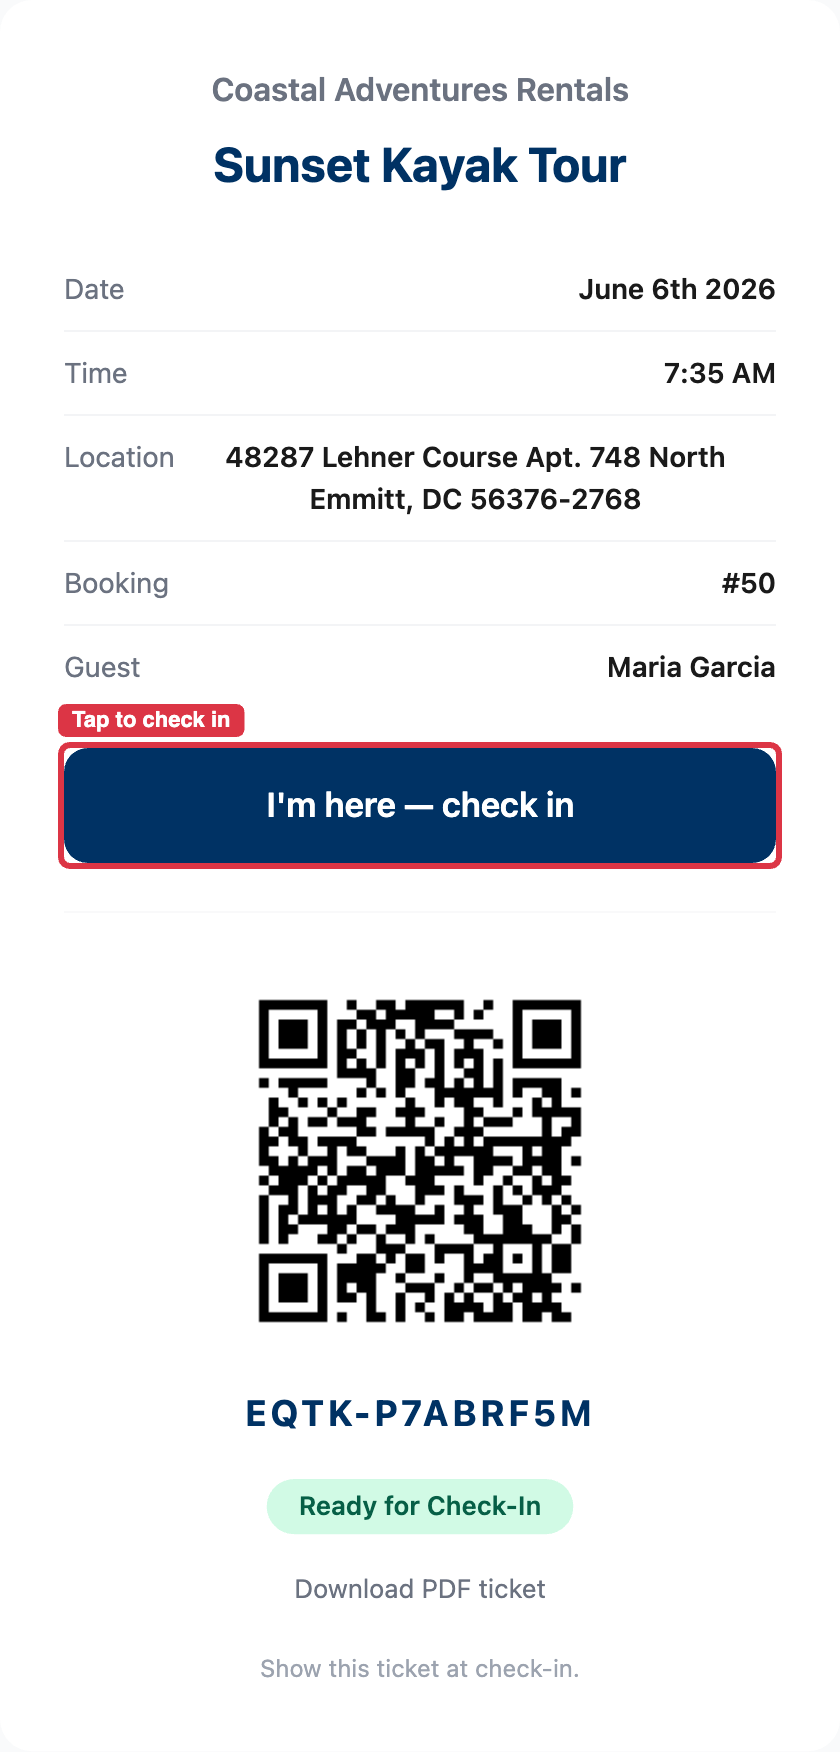
- Tapped before the window opens → the customer sees when check-in opens.
- Tapped after the session ends → the session shows as ended.
At your meeting point
Print the poster from Settings and put it where customers gather.
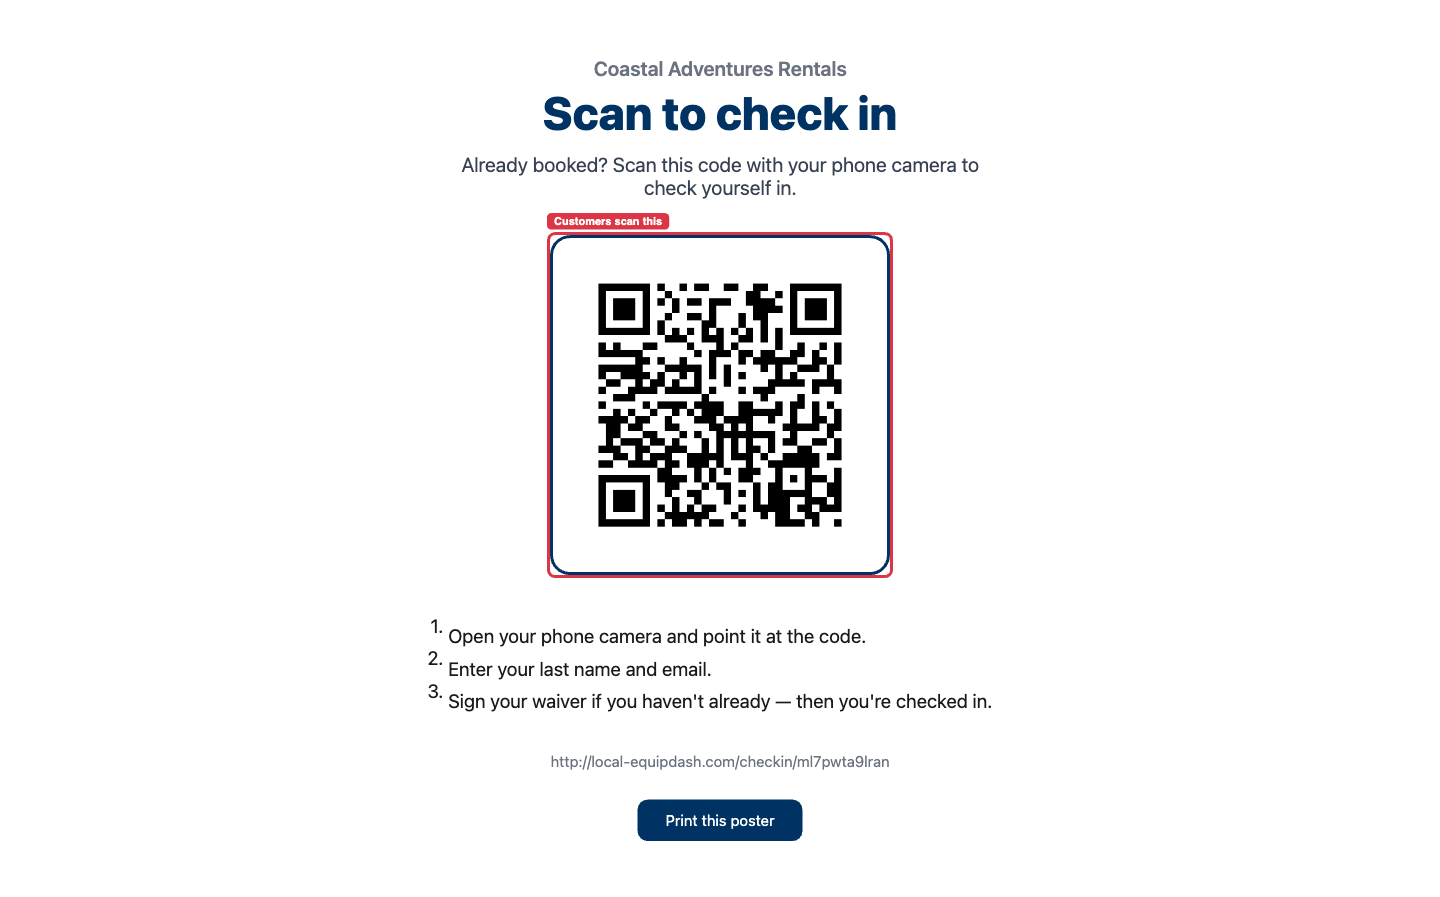
They scan it with their phone camera and find their booking by entering their last name and email:
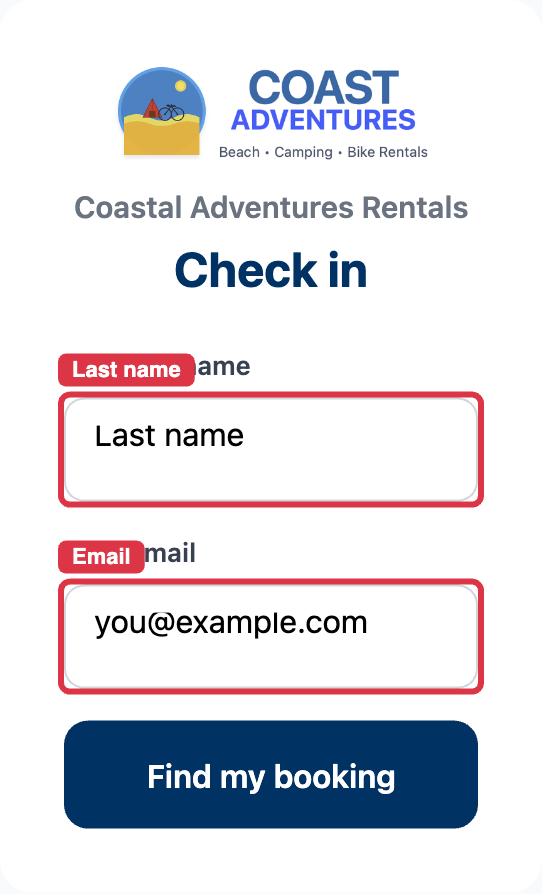
For a family or group on one booking, everyone in the party is listed — check in each person and sign any missing waivers from the same screen.
Waivers Are Signed On The Spot
If a customer still has a waiver to sign, check-in pauses and the waiver appears right there. As soon as they finish, they're checked in automatically — no second step. This is the part operators love: waiver-chasing moves off the dock.
What Your Team Still Does
Self check-in is designed so your guide stays in control:
- The manifest shows who has arrived in real time. Self check-ins are marked (self) so you can tell them apart from check-ins your team did.
- If an experience has a pre-check-in gear or safety checklist, a self check-in marks the customer as arrived but leaves that checklist for your team to complete. The customer sees a friendly "please see the team for your gear" message.
Tips
- Set the check-in window to match how early your customers usually arrive.
- Put the poster somewhere obvious at the meeting point — the dock, the shopfront, the trailhead.
- Self check-in is for experiences only. Gear rentals are handed over in person, so they aren't part of this flow.