POS Tips & Shortcuts
When you have customers waiting at the counter, speed matters. These tips help you move through the redesigned POS faster and with fewer clicks.
Let Dash AI build the booking
The Dash AI bar at the top of the POS turns plain English into a pre-filled cart. Press ↵ after typing to submit:
- "Snorkel Set for John Smith pickup tomorrow 9am, return 5pm" — picks the product, sets dates, finds the customer (or surfaces a quick-add).
- "2 Adults Snorkeling Adventure Saturday 9am" — picks the experience, the time chip, and sets the rate-category quantity.
- "Mountain Bike Medium x2 same-day La Jolla Cove" — picks variation + location.
Dash fills the cart; you review and click Create booking. The bar accepts pricing nudges too ("with 10% discount", "promo code SUMMER20"). See Dash AI Tips.
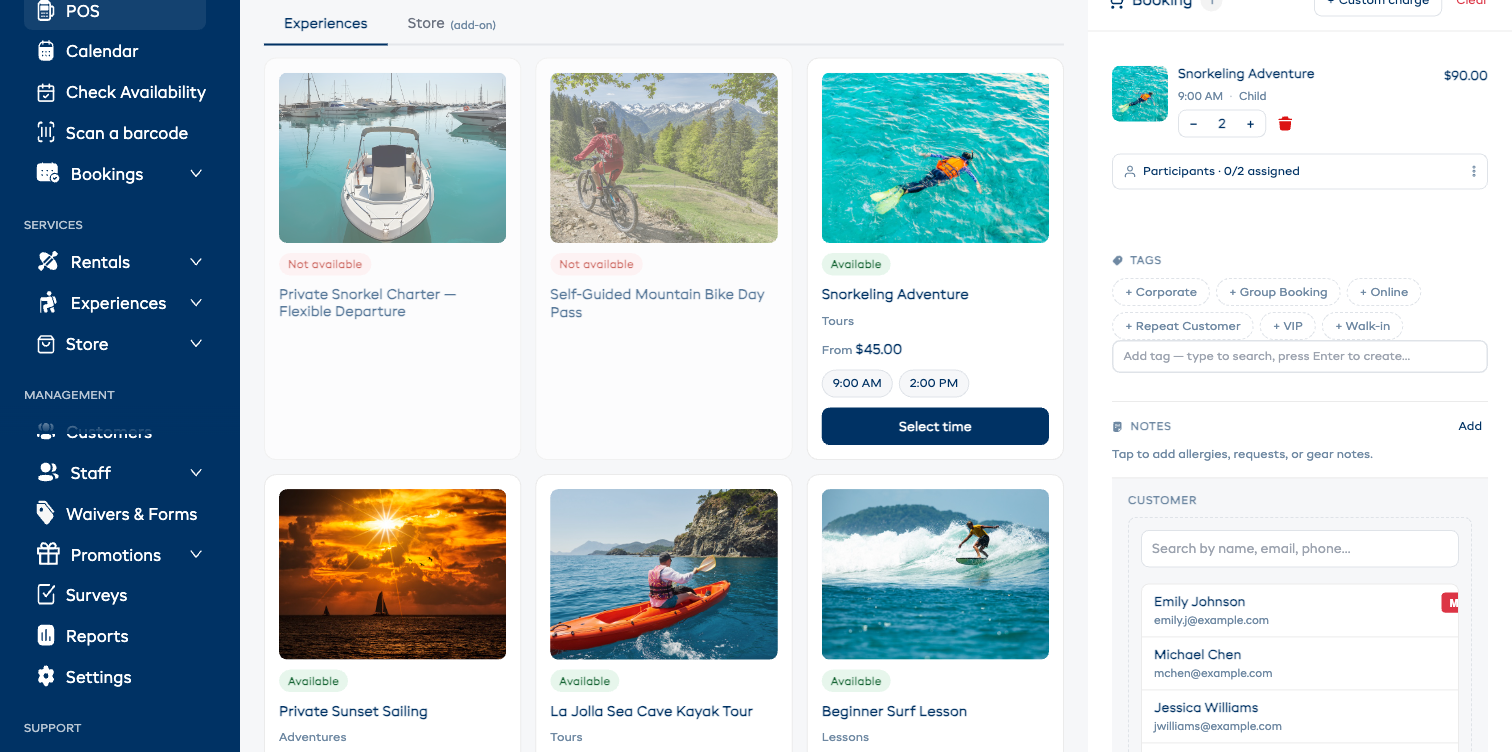
Quick customer lookup
The Customer section in the cart has an inline searchable list — no modal:
- Click Add customer.
- Start typing name, email, or phone.
- Click the matching customer to assign them.
If the customer is new, fill First name / Last name / Email in the same panel and press Save. The booking is ready to confirm.
Search by email if the customer says they've booked before — it's faster and more unique than a name match.
Searching products
The Search box at the top of the product grid filters across:
- Product / experience names
- SKU codes
- Descriptions
Type a few characters and the grid filters instantly. You can combine search with the All categories and All statuses filters to drill down further.
Switching booking types
The pill row right under the AI bar — Rental · Experience · Store — changes the entire working area instantly. While the cart has items, the type used by those items is locked (the others appear faded with a lock icon) so you don't accidentally lose work. Clear the cart from the top-right of the cart panel to switch to a different booking type.
Sub-tabs inside Rental view
Inside Rental, three sub-tabs let you browse different item types without leaving the POS:
- Rentals — your rental products
- Bundles — pre-configured bundles
- Store (add-on) — store products you can pin onto the same booking
The same applies inside Experience: a Store (add-on) sub-tab lets you sell merchandise alongside a tour booking.
Inline expand vs. modal
Every secondary action happens inside the cart (or inside an expanded card on the left), not in a modal:
- Set quantities — stepper inside the expanded card or on the cart row.
- Capture participant details — chevron expands seat-by-seat fields right under the cart row.
- Add tags — chip cluster inside the cart.
- Promo code, discount, custom charge, waiver email toggle — all in the cart.
If you don't see something where you expect it, scroll the cart — it grows as you add adjustments.
Barcode scanning
If you have barcodes set up, you can use a barcode scanner during the POS flow:
- During product selection — scan a product barcode to jump straight to that product in the grid.
- During pickup / return (on the booking detail page) — scan items to mark them.
There's also a Scan chip in the top-right of the POS (keyboard shortcut ⇧B) that opens the scanner overlay directly.
Tags, notes, custom charges
You can add these at booking time, not after:
- Tags — chip cluster halfway down the cart. Click any chip to apply, or type in the Add tag field and press Enter to create.
- Notes — internal-only notes captured in the cart.
- + Custom charge — at the top of the cart for one-off charges (cleaning fee, lost-key fee, etc.).
Promo codes, discounts, vouchers
The ADJUSTMENTS section in the cart handles all three:
- Promo / voucher code — paste the code in the field and click Apply. Valid codes apply immediately.
- Discount — flip the toggle on, then enter a custom % or fixed amount.
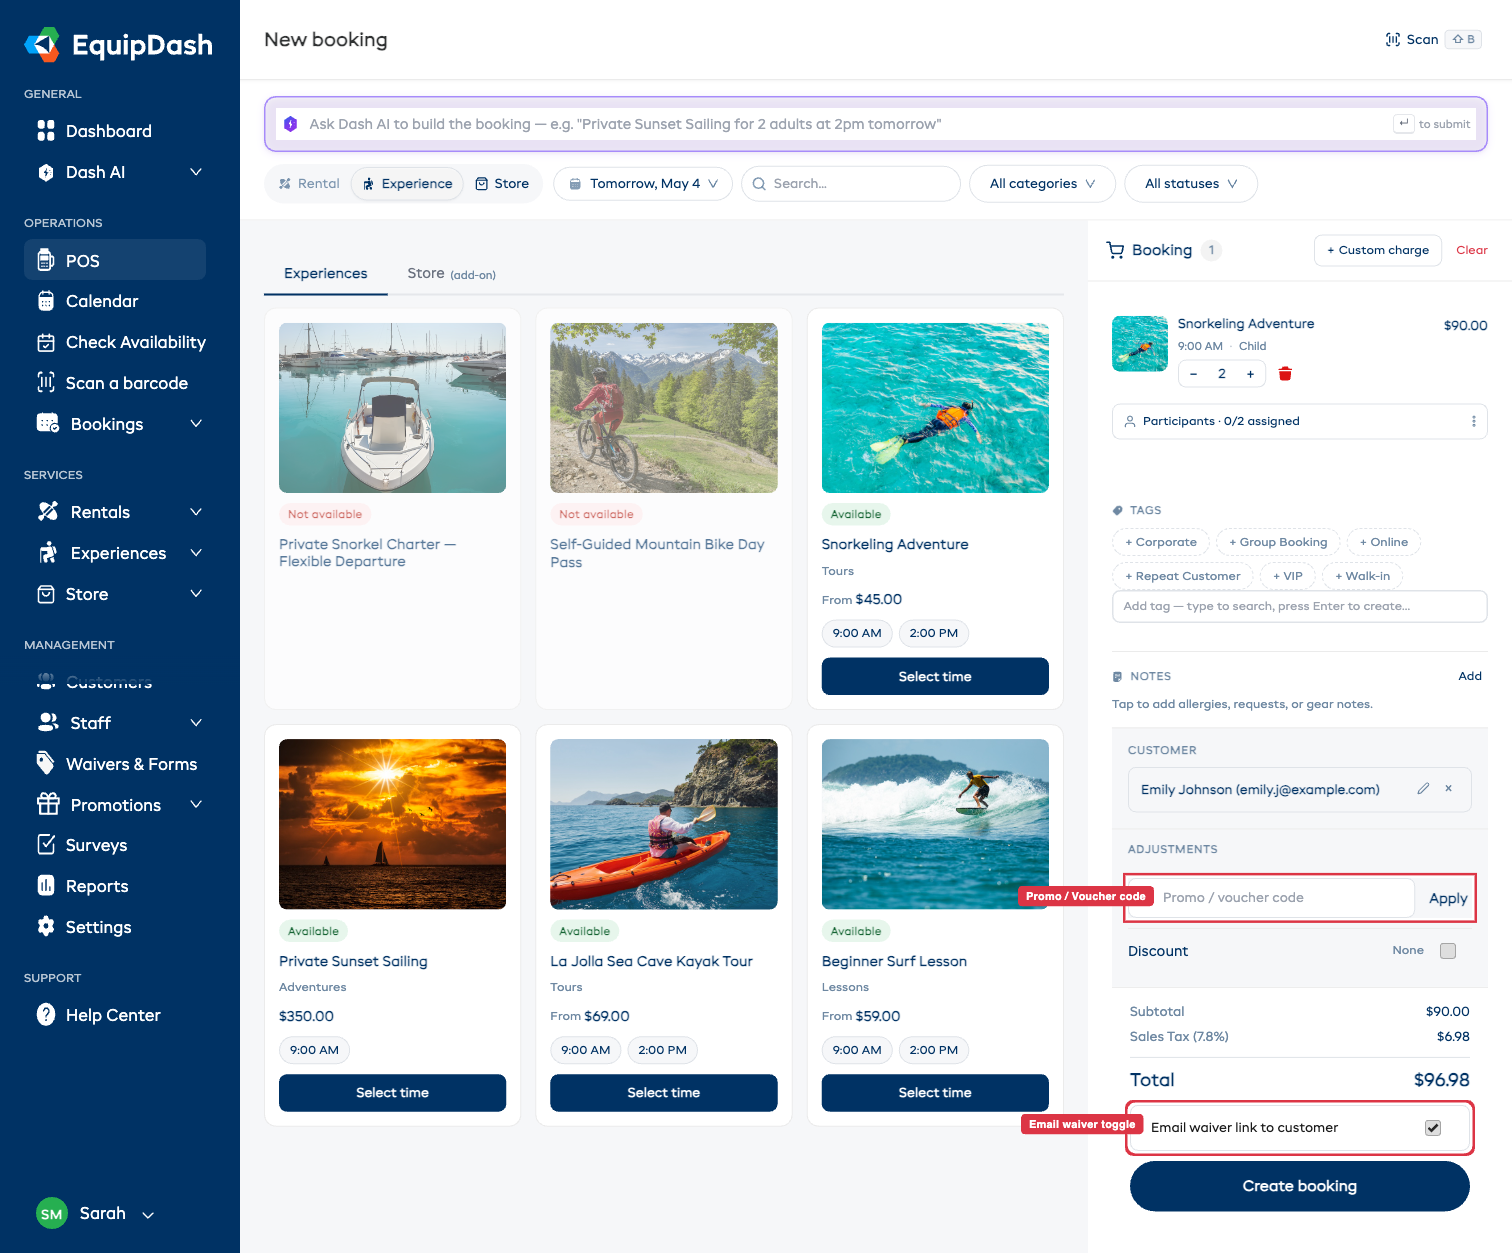
Email waiver toggle
When you add an item to the cart that triggers a waiver, an Email waiver link to customer toggle appears just above Create booking. The toggle is on by default — leave it on to email the customer their waiver link automatically. If they're signing on a tablet at the counter, flip it off.
The toggle doesn't render at all when no cart item triggers a waiver.
Switching to mobile
The new POS is responsive at 375px / 768px / desktop. On tablet or phone, the cart collapses to the bottom of the screen and the working area stacks above. The Create booking primary action stays pinned to the bottom of the viewport so it's always thumb-reachable.
Viewing recent bookings
Just confirmed a booking? You don't need to leave the POS to find it again:
- Click Bookings in the sidebar.
- The most recent bookings are at the top of the table.
- Click a booking to open its detail page.
Or use Global Search: press Ctrl/Cmd-K anywhere to find a booking by ID, customer name, or product. See Global Search.
Tips for busy periods
- Pre-create bookings — for known reservations, create them in advance so pickup is just a barcode scan.
- Use partial pickup — start with what the customer needs now and add more later via the booking detail page.
- Open multiple tabs — keep the POS in one tab and the bookings table in another so you can switch between creating and managing.
- Lean on Dash AI for repeat patterns — copy/paste your standard booking phrasing into the AI bar.
Walk-ins without an email
If a walk-in won't share their email:
- Click Add customer in the cart.
- Fill only First name / Last name — email is optional.
- Click Save.
- Continue the booking. You can update the customer record later.