Connecting Authorize.net
Authorize.net is a card gateway used with your own merchant account. If you already process on Authorize.net and would rather not move, you can connect it here and keep taking payments exactly where you take them today.
Authorize.net is not on by default. Most businesses use Stripe, which connects in a couple of clicks and needs no merchant account of its own. If you already run Authorize.net and want to keep it, ask us and we will switch it on for your account. It will then appear as a choice on this page.
Before You Start
- Your Authorize.net account must be set to the same currency your shop prices in. An Authorize.net account only takes one currency, so if the two do not match we cannot connect it.
- You will need four values from your Authorize.net account. Steps 1 and 2 below show you where each one is.
- Your money goes straight to your own merchant account, the same as it does today. EquipDash never holds it.
Step 1: Find your API Login ID and Transaction Key
- Sign in to your Authorize.net account.
- Click Account in the top menu.
- Under Settings, click API Credentials & Keys.
- Your API Login ID is shown on this page. Copy it.
- Choose New Transaction Key and submit. You will be sent a PIN by email to confirm it is you.
- Copy the Transaction Key it shows you. It is displayed once, so save it somewhere safe before you close the page.
Keep the Transaction Key private. Treat it like a password: never share it or post it anywhere public.
Step 2: Find your Signature Key and Public Client Key
Still under Account:
- In API Credentials & Keys, choose New Signature Key and submit. Confirm with the PIN you are sent. Copy the key.
- Go to Settings, then Security Settings, then General Security Settings.
- Click Manage Public Client Key and copy the key shown.
The Signature Key lets us confirm that messages about your payments really came from Authorize.net. The Public Client Key lets your booking page collect a card without the number ever passing through EquipDash.
Step 3: Connect it in EquipDash
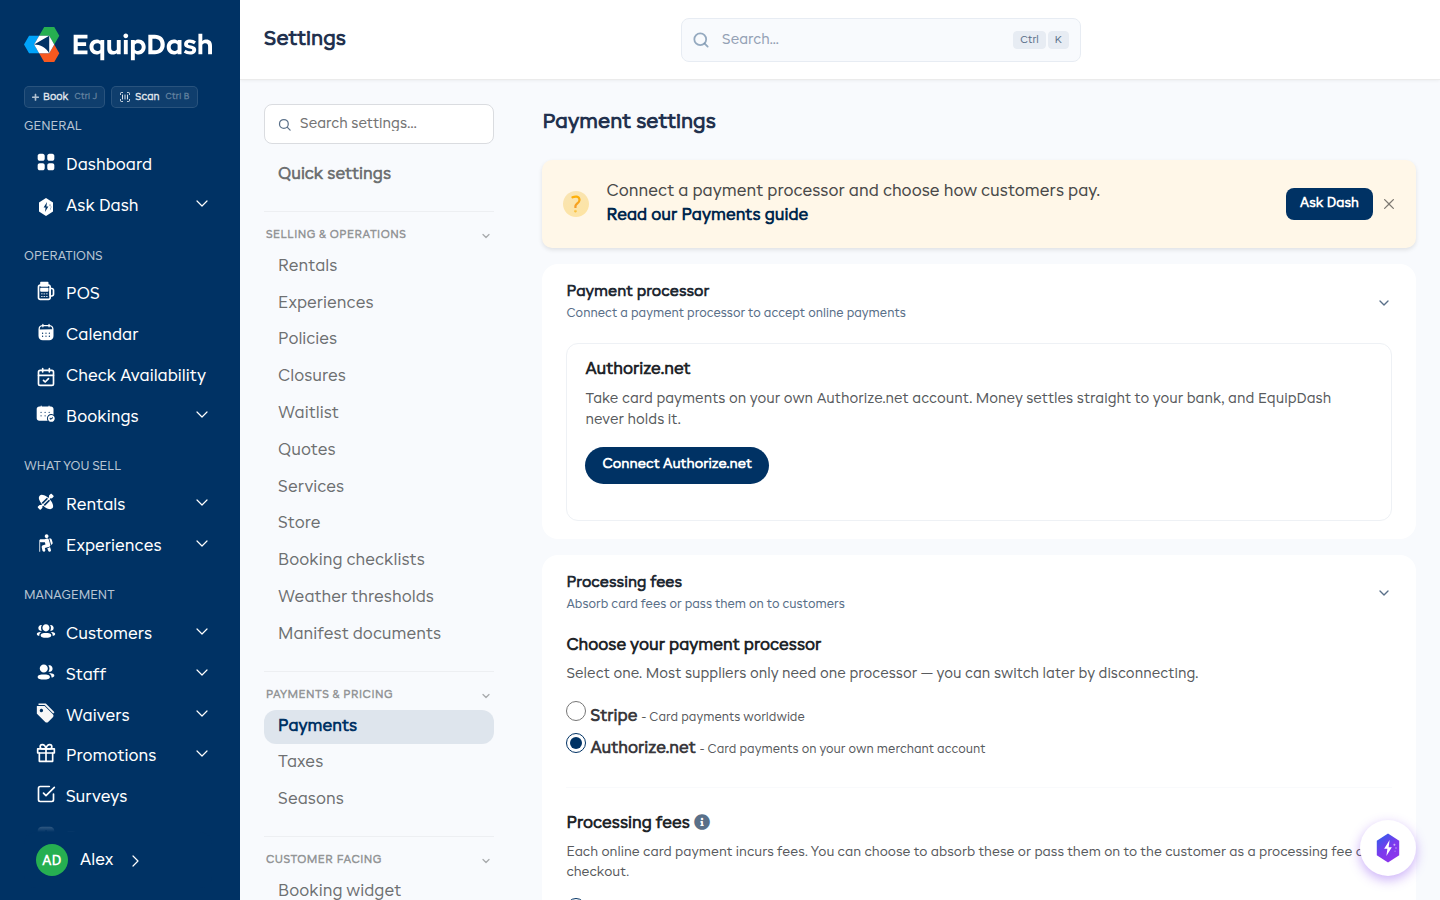
- Go to Settings, then Payments.
- Under Processing fees, choose Authorize.net as your payment processor. The Authorize.net card then appears at the top of the page.
- Paste in the four values.
- If you want to try it first, turn on Test mode and use your Authorize.net sandbox keys instead. No real money moves in test mode.
- Click Connect.
We check the keys with Authorize.net before saving anything. If they are wrong, or the account is set to a different currency than your shop, we tell you and save nothing.
What changes once you are connected
Your booking page takes cards. Customers type their card on your booking page as normal. The card details go straight to Authorize.net, never to us.
Security deposits work. If you take a deposit, we place a hold on the customer's card rather than charging it, and you release it or charge part of it at return. One point to know: taking part of a hold releases the rest. If you hold $500 and charge $120 for damage, the other $380 goes back and cannot be taken later. Charge the full amount you need in one go.
Your commission moves to your monthly invoice. On Stripe, your plan commission comes out of each payment before it reaches you. Authorize.net has no way to do that, so you receive the full amount of every booking and your commission is added to your monthly EquipDash invoice instead. The rate is the same either way.
Card readers are not available. Authorize.net on EquipDash is for online payments. At the counter, take cash or type the card into the payment screen.
Card surcharges are turned off. Because you are on rates you agreed with your own provider, we have no way to work out what a card costs you, so we do not add a surcharge for it. Customers pay the plain amount.
Switching away
Click Disconnect on the Authorize.net card in Settings, then Payments. Your keys are removed and your booking page stops taking cards until you connect something else.
Payments you already took stay exactly as they are, and refunds on them still go back through Authorize.net. Only new bookings are affected.