Locations
If your business operates from more than one site, you can add multiple locations to EquipDash. Locations let you organize products, experiences, and staff by site, and help customers find the right pickup or activity location.
Adding a Location
- Click Settings in the sidebar.
- Select Locations from the settings menu.
- Click + Add location.
- Fill in the location details:
- Location name -- a friendly name for this site (e.g., "Beach Shop" or "Downtown Office").
- Customers can collect here? -- Yes for a site customers walk into, No for a storage unit, workshop or private site you don't want them choosing when they book online.
- Address -- the full street address.
- Click Update.
Managing Existing Locations
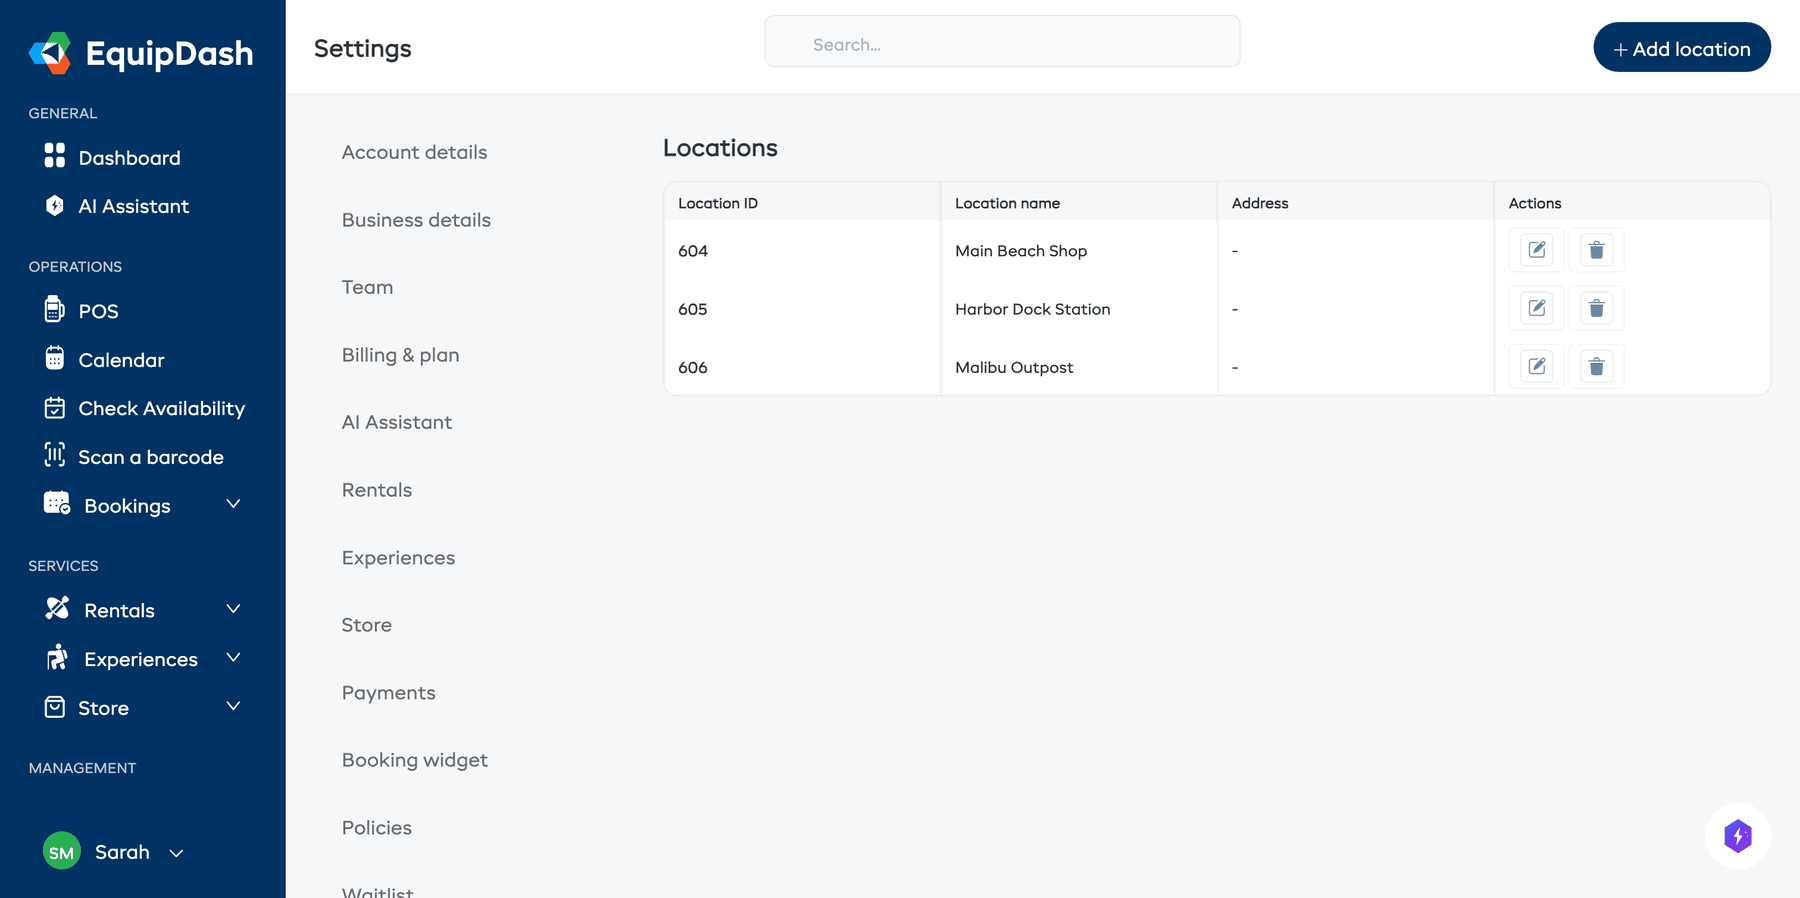
All your locations are listed on the Locations settings page. From here you can:
- Edit a location by clicking the edit icon next to it.
- Delete a location by clicking the delete icon. You will be asked to confirm before it is removed.
Deleting a location does not delete the products or experiences assigned to it, but those items will no longer be associated with a location. Reassign them if needed.
Locations customers can't book
Customers can collect here? decides whether a customer can pick that location when they book online, and nothing else.
Set it to No and the location still holds stock, still appears on every screen your team works from (inventory, the POS, the calendar, bookings lists and reports), and can still be used for a collection you arrange over the phone. Staff screens show it as Back store room (not bookable online) so nobody picks it by mistake.
That makes it the right answer for a storage unit, a workshop, or a site that isn't open to the public but is where some of your gear actually lives.
How Locations Are Used
- Products can be assigned to a specific location so customers know where to pick up their rental.
- Experiences can be tied to a location to show customers where the activity takes place.
- Staff can be assigned to locations for scheduling and rostering.
- Booking widget displays the location for each product or experience.
Map coordinates & the weather forecast
Each location is pinned to the map using coordinates (latitude and longitude). EquipDash fetches these from the address automatically when you save a location — you don't normally need to do anything.
Coordinates power the weather forecast shown on experience manifests (and per-location reporting). The Coordinates column on the Locations list tells you where each venue stands:
- Located (green) — coordinates are set; the weather forecast works for experiences at this venue.
- Locating… — we're fetching the coordinates from the address. Re-save the venue if it stays on this for a while.
- Set coordinates (amber) — we couldn't pin the address to the map automatically. Click it to open the location and set the coordinates by hand.
Setting coordinates by hand
If a venue shows Set coordinates, open it (the manual fields open automatically) and:
- Find the exact spot on Google Maps.
- Right-click the point — the latitude and longitude appear at the top of the menu. Click them to copy.
- Paste them into Latitude and Longitude, then click Update.
The venue switches to Located and the weather forecast starts showing on its experiences' manifests.
Related Guides
- Multi-Location Inventory Setup -- Assigning inventory to locations and filtering by site.
- Pickup & Return Locations -- How locations work during bookings.
- Experience Manifests & Check-In -- Where the weather forecast appears.
- Weather Thresholds -- Automatic closures when conditions turn dangerous.
- Business Details
- Creating Products
- Creating Experiences
- Staff Locations